
Leon Mk1
|
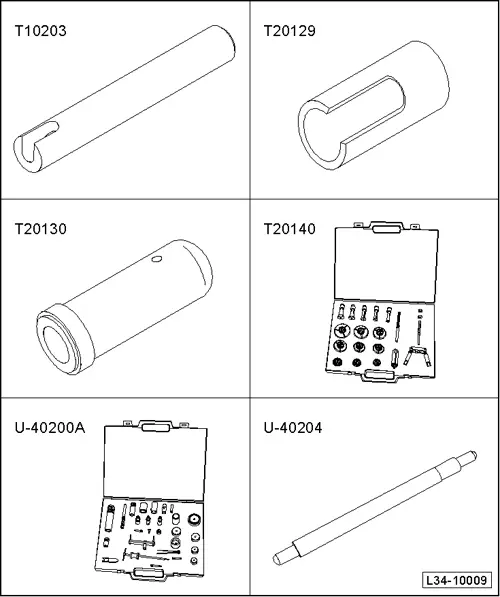
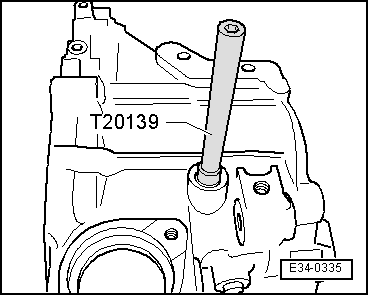
| Special tools and workshop equipment required |
| t |
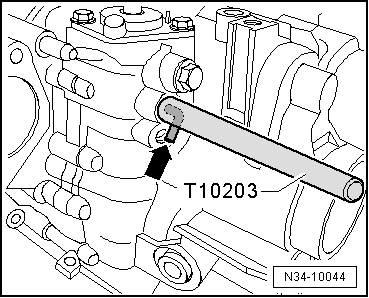
| t | Push rod -T10203-, see equivalent → Anchor |
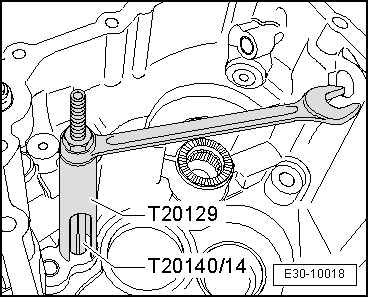
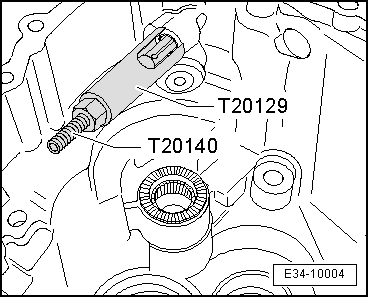
| t | Hose clamp -T20129-, see equivalent → Anchor |
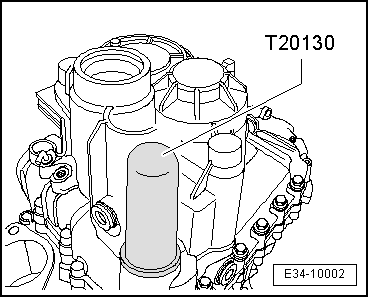
| t | Push rod -T20130-, see equivalent → Anchor |
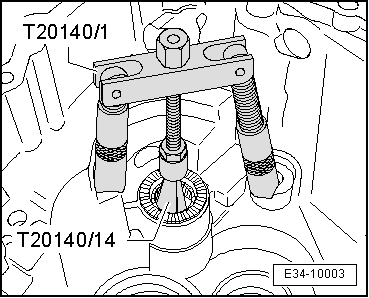
| t | Extractor kit -T20140-, see equivalent → Anchor |
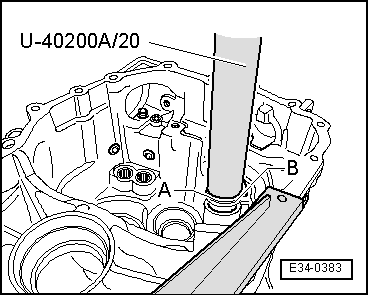
| t | Kit (case) -U 40200A-, see equivalent → Anchor |
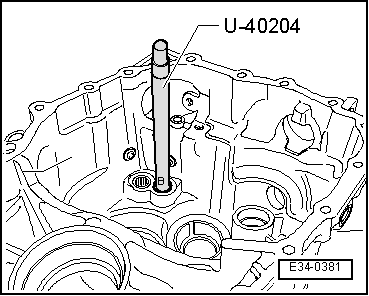
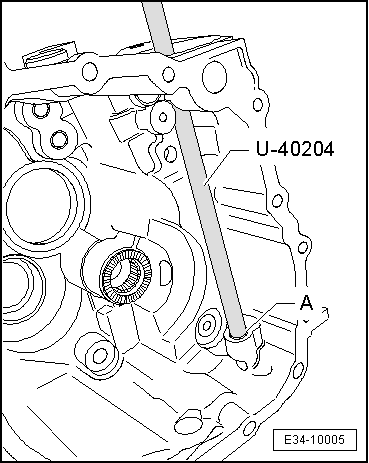
| t | Push rod -U 40204-, see equivalent → Anchor |
|
|
|
|
|
|
|
|
|
|
|
|
|
|
|
|
|
|
|
|
|
|
|
|
|
|
|
|
|
|