seat Workshop Repair Guides

SEAT Workshop Service and Repair Manuals

Specified torques for gearbox > < Removing gearbox
Installing gearbox
Installing gearbox
  Note
t  
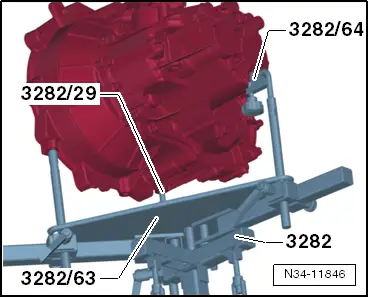
Refer to procedure „Removing gearbox“ for required special tools → Chapter.
t  
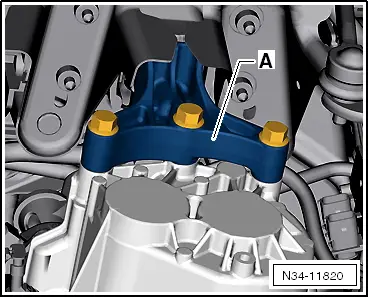
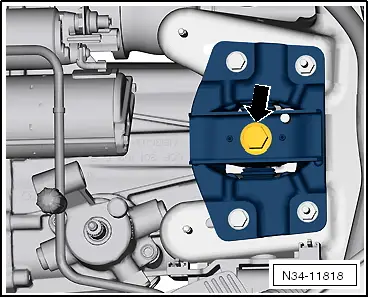
Renew self-locking nuts and bolts.
t  Replace bolts that are tightened with specified tightening angle.
t  All cable ties which were opened or cut during removal must be renewed at the same points.
t  Clean input shaft splines and, on used clutch plate, hub splines. Remove corrosion and apply only a very thin coat of clutch plate spline grease -G 000 100- to splines. Then move the clutch plate on the input shaft from side to side, until the hub moves smoothly on the shaft. It is important to remove excess grease.
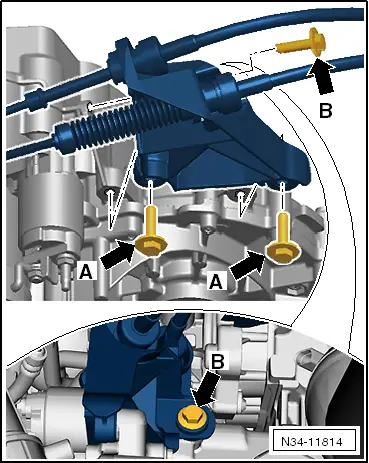
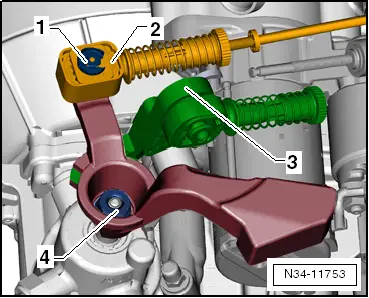
–  If the gearbox is to be renewed, the gearbox selector lever and relay lever must be transferred to the new gearbox.
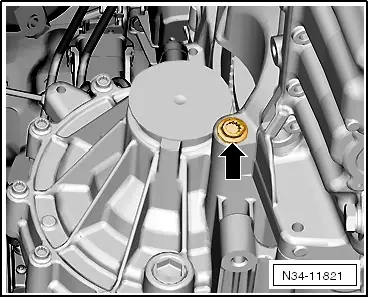
–  Carefully use thread tap to remove any remaining locking fluid from all threaded holes which will accommodate self-locking bolts.
–  Clean splines of input shaft and apply a thin coat of grease for clutch plate splines -G 000 100-.
The clutch plate must slide easily to and fro on the input shaft.
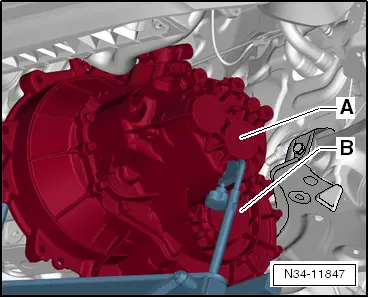
–  If no dowel sleeves for aligning engine and gearbox are fitted in cylinder block, install if necessary.
If the dowel sleeves are not fitted, this will lead to gear-change problems, clutch malfunction and in some cases gearbox noise (gears will make rattling noises).
   
–  Assemble engine and gearbox jack, gearbox support -3282- and adjustment plate -3282/63- for „0CF“ gearbox and mounting elements as follows:
–  Place adjustment plate -3282/63- on gearbox support -3282- (adjustment plate only fits in one position).
–  Align arms of gearbox support according to holes in adjustment plate.
–  Screw in support elements -A- as illustrated on adjustment plate.
  N34-11798
–  Align gearbox parallel to adjustment plate and set on engine and gearbox jack.
–  Then screw pin -3282/29- into hole on gearbox for securing bolt of pendulum support.
–  Secure gearbox with adapter -3282/64-.
–  Position engine and gearbox jack under vehicle. Arrow -B- on adjustment plate points in direction of vehicle travel.
  N34-11846
Gearbox ends in area of 5th gear (-area A-) and in area of differential (-arrow B-) are facing downwards.
–  Then raise gearbox carefully and guide past subframe.
  Note
Pay attention to all pipes/hoses/wiring when installing the gearbox.
  N34-11847
–  Bring gearbox into installation position and install.
–  Screw in engine/gearbox connecting bolt -arrow- in area of right-hand drive shaft seal.
–  Install lower engine/gearbox securing bolts.
–  After gearbox has been bolted to engine, remove engine and gearbox jack from gearbox.
  N34-11821
–  Fit gearbox bracket -A- with new bolts.
  N34-11820
–  Align engine and gearbox in installation position.
–  Install new bolt -arrow- for left-hand assembly mounting in gearbox mounting.
  WARNING
Do not remove support bracket -10-2 A- until all bolts securing the assembly mounting have been tightened to specified torque.
  N34-11818
–  Install upper engine/gearbox securing bolts -arrows-.
–  Fit earth strap if necessary.
  N34-11812
–  Install pendulum support using new bolts → Running gear, axles, steering; Rep. gr.40.
–  Install drive shafts → Running gear, axles, steering; Rep. gr.40.
  N34-10973
–  Install coupling rod -3- to anti-roll bar -2- on both sides → Running gear, axles, steering; Rep. gr.40.
  N40-10382
–  Gearbox for vehicles with start stop system Plug on the connector -1- to the gearbox neutral position sender -G701-.
–  Push connector -2- onto reversing light switch -F4-.
  N34-11819
–  Install slave cylinder -arrows-.
–  Install starter → Electrical system; Rep. gr.27.
  N34-11756
–  Install cable support bracket to gearbox.
Bolts -arrow A- are accessible from engine compartment.
Bolt -arrow B- is accessible from beneath vehicle.
  N34-11814
–  Install gearbox selector lever and tighten hexagon nut -4- to specified torque → Item.
–  Install relay lever -3- together with cable end-piece → Fig..
–  Spread a small amount of grease on pin of gearbox selector lever.
Allocate grease using → Electronic parts catalogue (ETKA).
–  Attach gear selector cable -2- to gearbox selector lever.
–  Install new clip -1-.
–  Adjust selector mechanism → Chapter.
–  Fill up gear oil → Chapter.
–  If fitted, install noise insulation under engine/gearbox → General body repairs, exterior; Rep. gr.66.
–  Install battery tray → Electrical system ; Rep. gr.27.
–  Fit the battery → Electrical system; Rep. gr.27.
–  Connect battery and follow procedure after connecting battery → Electrical system; Rep. gr.27.
–  Install engine cover and air filter → Rep. gr.24.
  Note
Note radio code for vehicles with coded radio.
  N34-11753

Specified torques for gearbox > < Removing gearbox