
Leon Mk1
 Note
Note
|
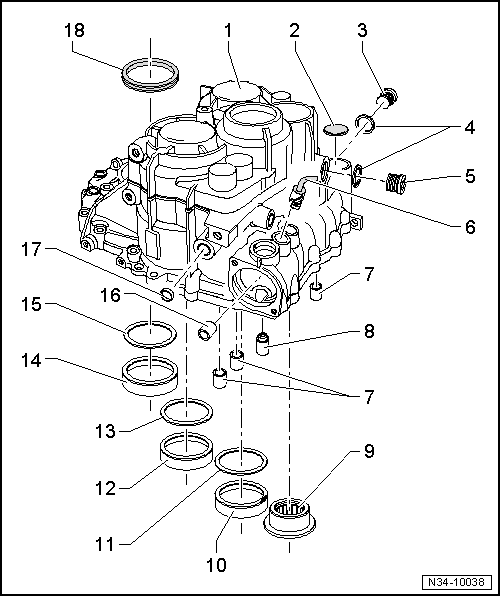
| 1 - | Gearbox |
| q | If this is replaced then the secondary differential shafts must be adjusted → Chapter |
| 2 - | Sealing cap |
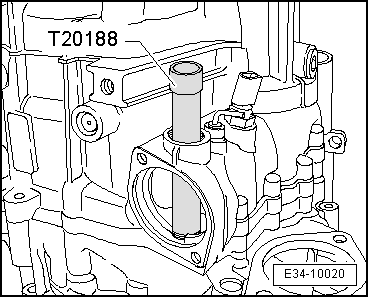
| q | Removing → Fig. |
| q | Driving in → Fig. |
| 3 - | Oil empty plug |
| q | Hexagon socket head bolt, 30 Nm |
| q | Multi-point socket head bolt, 45 Nm |
| 4 - | Seal |
| q | replace |
| 5 - | Oil filler plug |
| q | Hexagon socket head bolt, 30 Nm |
| q | Multi-point socket head bolt, 45 Nm |
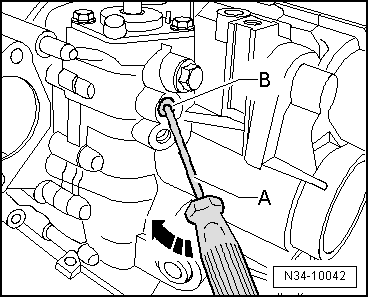
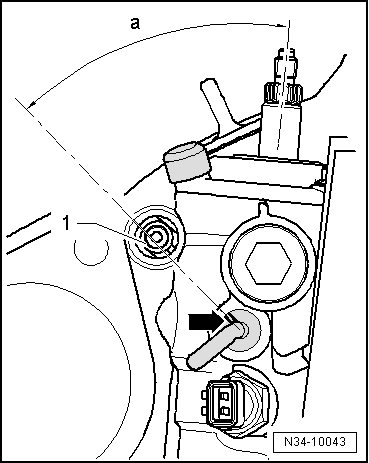
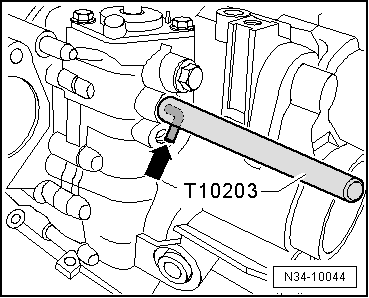
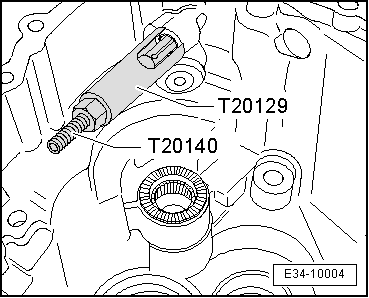
| 6 - | Locking pin |
| q | For adjusting selector mechanism → Chapter |
| q | Can be renewed with gearbox assembled |
| q | Removing → Fig. |
| q | Installation position → Fig. |
| q | Driving in → Fig. |
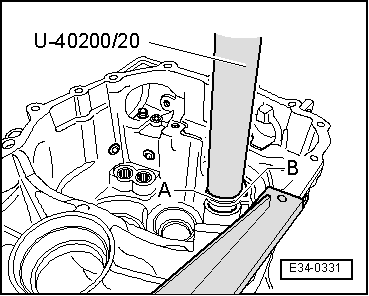
| 7 - | Bearing sleeve for the control rods |
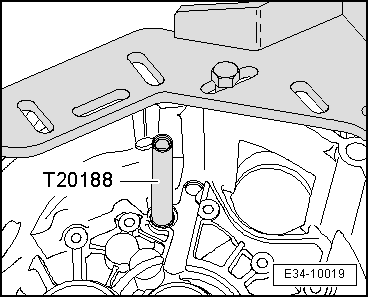
| q | Remove → Fig. |
| q | Driving in → Fig. |
| 8 - | Stop sleeve |
| q | Remove with the gearbox disassembled |
| q | Driving in → Fig. |
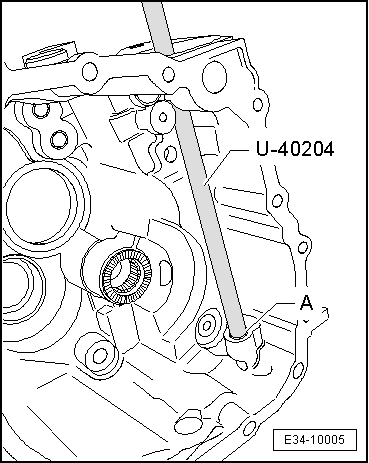
| 9 - | Point crown for the inverter shaft |
| q | Always renew if removed |
| q | Remove → Fig. |
| q | Driving in → Fig. |
| 10 - | Outer ring of roller bearing |
| q | For 5th/6th and reverse gear output shaft |
| q | removing and fitting → Fig. |
| q | If renewed: Adjust 5th/6th and reverse gear output shaft → Chapter |
| 11 - | Shim |
| q | For 5th/6th and reverse gear output shaft |
| q | Adjustment overview → Chapter |
| 12 - | Outer ring of roller bearing |
| q | for the secondary shaft for 1st to 4th gear |
| q | removing and fitting → Chapter |
| q | When replacing, the input shaft for 1st to 4th gear must be adjusted → Chapter |
| 13 - | Shim |
| q | for the secondary shaft for 1st to 4th gear |
| q | Adjustment overview → Chapter |
| 14 - | Outer ring of roller bearing |
| q | For the differential |
| q | removing and fitting → Chapter |
| q | If replaced the differential must be replaced → Chapter |
| 15 - | Shim |
| q | For the differential |
| q | Adjustment overview → Chapter |
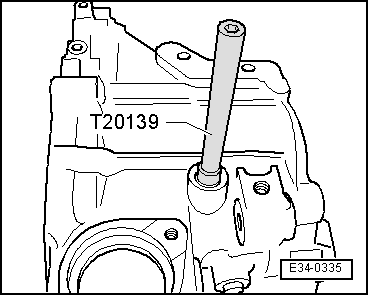
| 16 - | Bearing socket for operation mechanism shaft |
| q | Remove → Fig. |
| q | Driving in → Fig. |
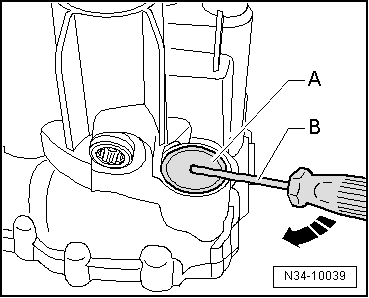
| 17 - | Sealing plug |
| q | Press and drive in → Fig. |
| 18 - | Seal |
| q | replace |
| Consult the equivalence table for tools and equipment according to applicability among Seat / VW / Audi / Skoda → Chapter. |

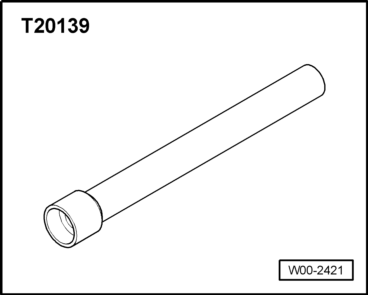
| Special tools and workshop equipment required |
| t | Tappet -T10203 -, see equivalent → Anchor |
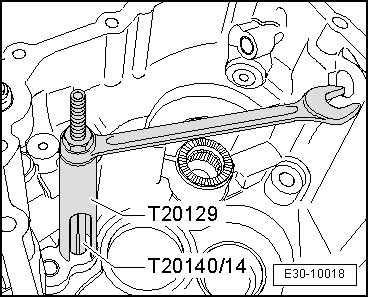
| t | Hose clamp -T20129 -, see equivalent → Anchor |
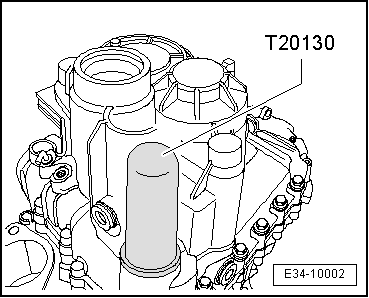
| t | Tappet -T20130 -, see equivalent → Anchor |
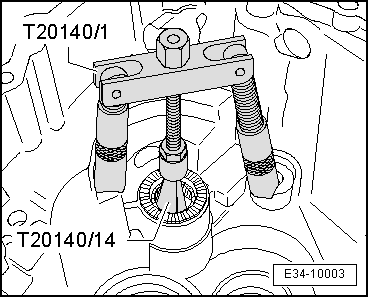
| t | Extractor kit -T20140 -, see equivalent → Anchor |
| t | Kit (case) -U 40200A -, see equivalent → Anchor |
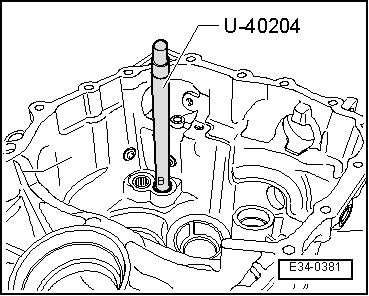
| t | Tappet -U-40204 -, see equivalent → Anchor |
|
|
|
|
|

|
|
|
|
|
|
|
|
|
|
|
|
|
|
|
|
|
|
|
|
|
|
|
|
|
|
|