
Leon Mk1
|
 Note
Note
|
|
|
|
 WARNING
|
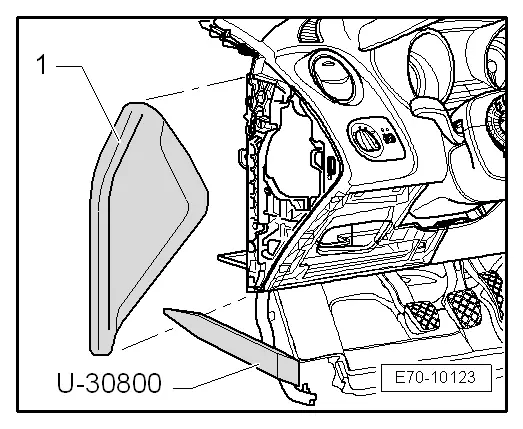
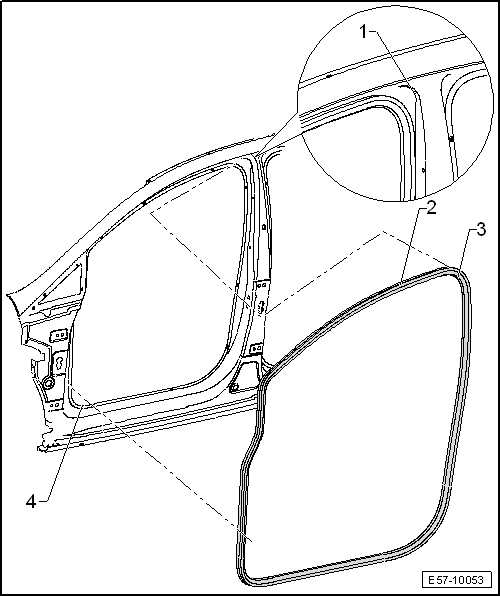
| – | Remove the door seal -2- from the bodywork flange.-4- |
| Installing |
| – | When installing inner gaskets, start at upper radius of door cut-out -1-. |
| Angle bisector -1- must coincide with the coloured dot marked on the seals-3-: |
| t | Red dot for left side |
| t | Blue dot for right side |
| Install in the reverse order to removal. |