
Leon Mk1
|
|
|
|
|
 Note
Note
|
|
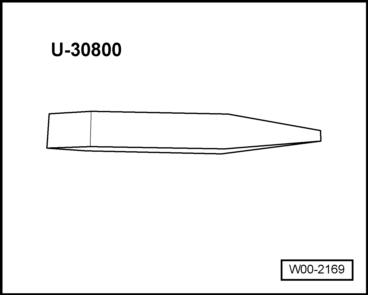
| – | Place the lever -U 30800- in the notch on the diffusion glass and carefully lever out the luggage compartment light -6-. |
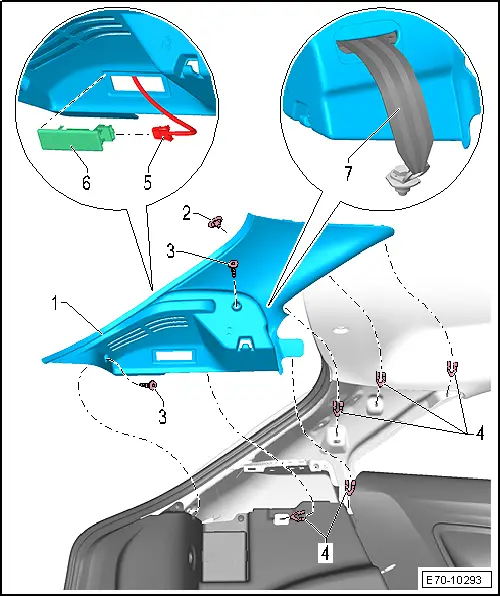
| – | Unplug connector -5-. |
| – | Remove bolt from the side rear safety belt fitting -7- → Item. |
| – | Remove bolts -3-. |
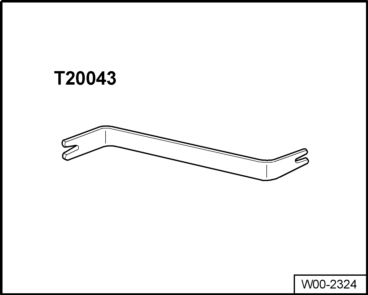
| – | Release the trim -1- from the fastenings of the clips -2- and -4- using the lever -T20043-. |
Note
|

|