
Leon Mk1
|
|
|
|
|
|
|
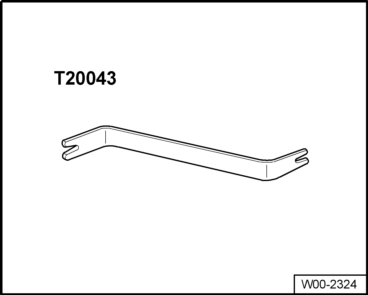
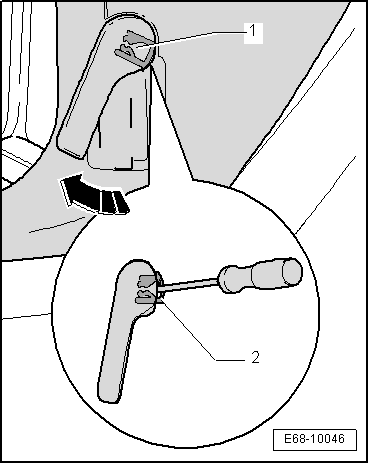
| – | Unhook door sill -1- with lever -T20043- starting at A-pillar. |
| – | Remove door sill -1- upwards using lever -T20043-. |

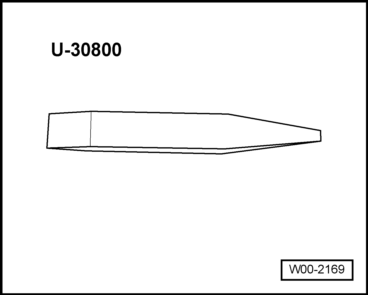
| – | Remove retaining clip -7- with lever -U 30800-. |
| – | Remove sill panel trim -1-. |
|
| – | Unhook door sill -1- with lever -T20043- starting at A-pillar. |
| – | Remove door sill -1- upwards using lever -T20043-. |
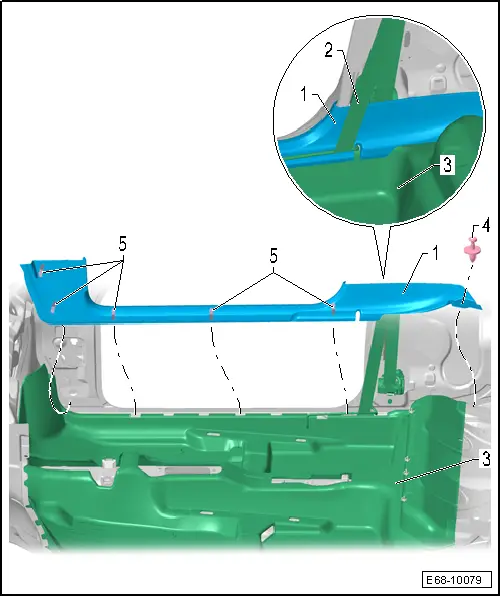
| – | Remove retaining clip -4- with lever -U 30800-. |
| – | Remove sill panel trim -1-. |
 Note
Note
|