seat Workshop Repair Guides

SEAT Workshop Service and Repair Manuals

Door sill (3-door vehicles): Assembly overview > < Sill panel strip, vehicles with 5 doors and ST: Assembly overview
Sill panel strip, vehicles with 5 doors and ST: Removing and installing.
Special tools and workshop equipment required
   
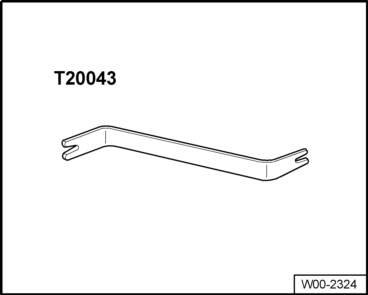
t  Release lever -T20043-
  W00-2324
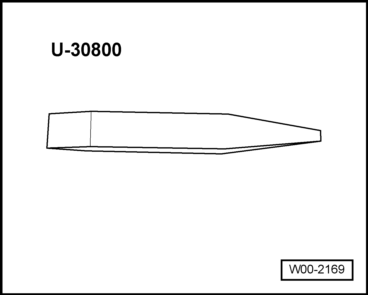
t  Release lever -U 30800-
Removal:
Left door sill removing
–  Clip out the trim of the B-pillar → Chapter.
  W00-2169
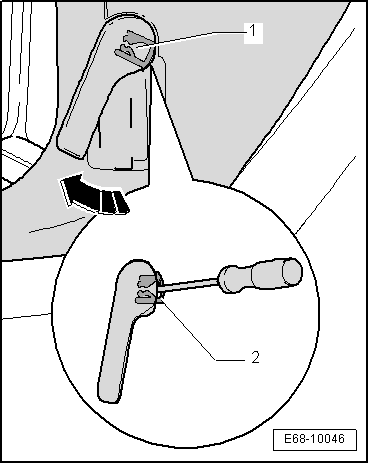
–  Pull control lever -1- approx. 2 cm in direction of -arrow-.
–  Insert a small screwdriver between operation lever -1- and clip -2-.
–  Remove clip -2- and control lever -1-.
  E68-10046
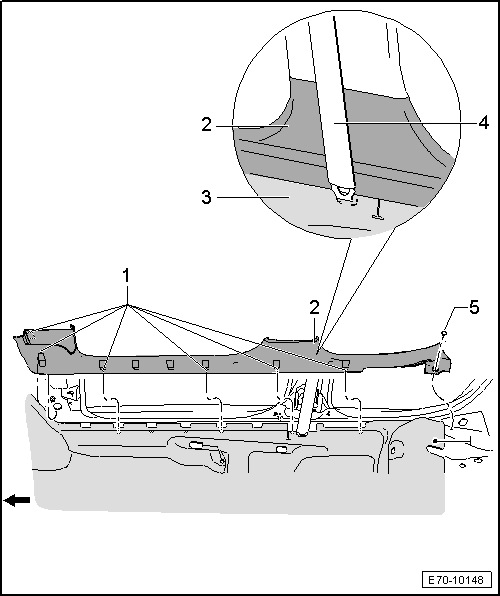
–  Unhook door sill -2- with lever -T20043- starting at A-pillar.
–  Remove door sill -2- upwards using lever -T20043-.
–  Fold down rear bench seat.
–  Remove retaining clip -7- with lever -U 30800-.
–  Remove sill panel trim -2-.

Right door sill: removing
–  Clip out the trim of the B-pillar → Chapter.
   
–  Unhook door sill -2- using the lever -T20043-, starting at the A-pillar in doing so.
–  Remove door sill -2- upwards using lever -T20043-.
–  Fold down rear bench seat.
–  Remove retaining clip -5- with lever -U 30800-.
–  Remove sill panel trim -2-.

Installation
Installation is carried out in the reverse order. When installing, note the following:
  Note
t  Before installing door sill check condition of clips → Item and clip → Item and replace, if required.
t  The door sill is fastened to the lower C-pillar trim.
   

Door sill (3-door vehicles): Assembly overview > < Sill panel strip, vehicles with 5 doors and ST: Assembly overview