| –
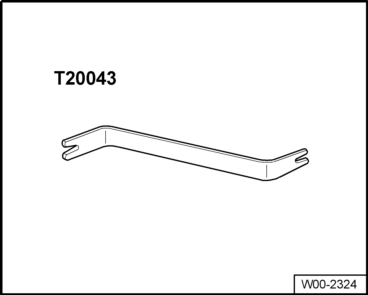
| Press trim -2- on A-pillar in area of rubber seal to side with hand until lever -T20043- can be positioned on upper retaining clip -3-. |
| –
| Detach retaining clips -3- from A-pillar one after another with lever -T20043-. |
| –
| Remove A-pillar trim -2- upward. |
| –
| Detach trim -2- from fastener on instrument panel. |
| –
| Disconnect the tweeter loudspeaker connector and remove the lining -2-. |
| Installation is carried out in the reverse order. When installing, note the following: |

Note | Before fitting the lining check the condition of the clips and replace if necessary. |
|
|
|