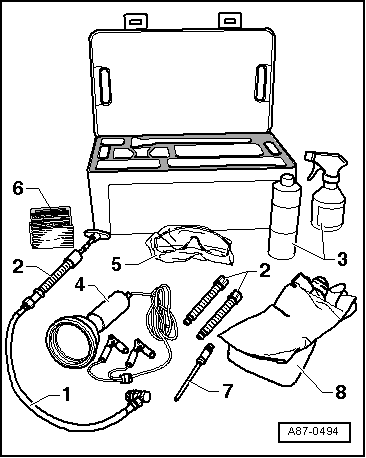
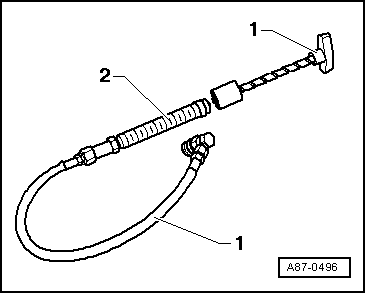
| The leak detection additive can be filled into the empty refrigerant circuit through an open connection. |
| –
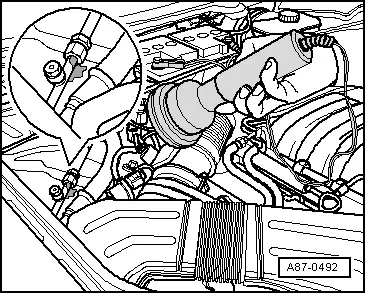
| Separate a connection position on the refrigeration circuit that is easy to access. |
| –
| Cover the area around the connecting position with film or absorbent paper. |
| –
| Hold the pipes upwards. |
| –
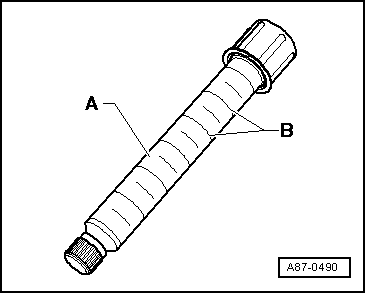
| Screw in the screw knob of the hand pump in until leak detection additive exits from pipe. |
| –
| 2.5 ± 0.5 ml (millilitre = cm3) Fill leak detection additive in the refrigerant circuit. |

Note | If a repair leak detection fluid has already been filled in a refrigerant circuit during a previous leak detection, proceed as follows: Only fill the new leak detection additive when the refrigerant oil is replaced. If only some of the refrigerant oil has been renewed, just add the corresponding quantity of leak detection additives. If, for example, in a vehicle with 250 ml refrigerant oil, 100 ml is replaced, only 1 ml (cm3) of leak detection additive can be filled. |
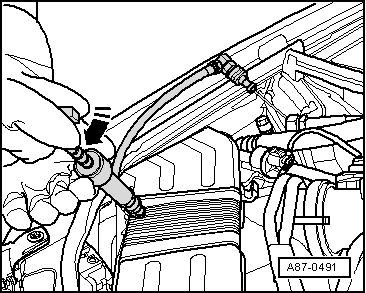
| –
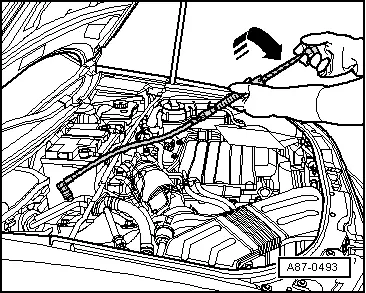
| Replace the O-ring for the separated connecting position. |
| –
| Reassemble the refrigerant circuit. |
| –
| Apply a sticker near to the service connection that provides information that leak detection additive has been filled into this refrigerant circuit. |
| –
| Extract and charge the refrigerant circuit as described. |
| –
| Switch the air conditioner on: |
Note | t
| To enable the leak detection additive to be distributed throughout the entire refrigerant circuit, the air conditioner must remain switched on for at least 60 minutes (the air conditioner compressor must run). Depending on the size of the leak, the leak can already be detected during this period. |
| t
| Depending on the size and location of the leak, it may take several days before the refrigerant oil with leak detection additive escapes. |
| –
| Find leaks on the refrigerant circuit using the UV leak detection lamp VAS 6196/4. |
| Pouring in leak detection additive with refrigerant circuit charged |
Note | t
| If a repair leak detection fluid has already been filled in a refrigerant circuit during a previous leak detection, proceed as follows: Only fill the new leak detection additive when the refrigerant oil is replaced. If only some of the refrigerant oil has been renewed, just add the corresponding quantity of leak detection additives. If, for example, in a vehicle with 250 ml refrigerant oil, 100 ml is replaced, only 1 ml (cm3) of leak detection additive can be filled. |
| t
| A small quantity of the leak detection additive remains in the service connection. Carefully remove these residues so that these residues are not mistakenly perceived as a leak with future leak detections. |
|
|
|

 WARNING