SEAT Workshop Service and Repair Manuals
HOME
FEATURES
MENU
INDEX
ABOUT US
Removing and installing fuel tank >
< Removing and installing parts of fuel supply system
Leon Mk1
Power unit
4-cyl. diesel engine
Fuel supply, gas operation / Removing and installing parts of fuel supply system
Removing and installing fuel tank
Removing
Removing
–
Note safety precautions before starting work
→ Chapter
.
–
First check whether a coded radio is fitted. If this is the case obtain the anti-theft coding.
–
With ignition switched off disconnect battery earth strap.
–
Fold rear seat forward.
–
Remove the fuel gauge cover.
–
Extract supply
-1-
(black) and return
-2-
(blue) hoses from the fuel gauge along with electrical connector.
Note!
To do so, press the connecting keys on the hoses.
–
Drain the fuel tank.
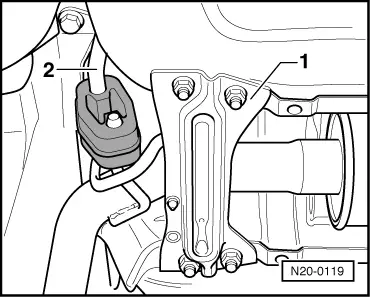
–
Remove the rear union brace
-1-
.
–
Remove all fasteners on the rear exhaust pipe system from the bodywork
-2-
, lower the exhaust system slightly and secure it tothe bodywork with wire.
–
Remove the right rear wheel.
–
Remove the right wheel arch protector.
–
Remove the filler hole unit from the bodywork.
–
Remove the straps holding the fuel tank using the engine and gearbox hoist -SAT 1001-.
–
Remove the filler hole unit from its fastening to the fuel tank; to do so the dust bellows and fuel pipes must be removed.
Note!
When removing the filler hole unit, be especially careful not to damage the inner seals located on the tank.
–
Remove the fuel tank along with the antithermal plate.
Power unit
4-cyl. diesel engine
Fuel supply, gas operation / Removing and installing parts of fuel supply system
Removing and installing fuel tank
Removing and installing fuel tank >
< Removing and installing parts of fuel supply system
 Note!
Note!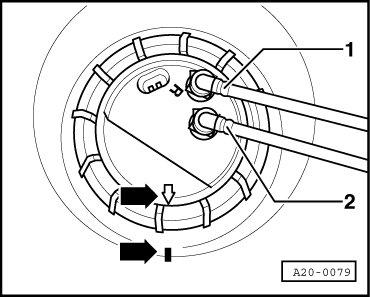
 Note!
Note!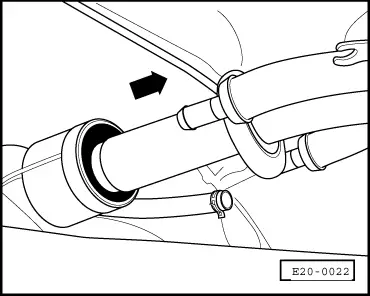
 Note!
Note!
Note!
Note!