seat Workshop Repair Guides

SEAT Workshop Service and Repair Manuals

Tightening torques > < Removal: indications
Assembly: instructions
Carry out removal operations in reverse order, taking into account the following:
–  Check the wear of the disengagement collar, and renew if necessary.
–  Apply a thin layer of -G 000 100- to the disengagement collar, the guide hose for the primary shaft spline.
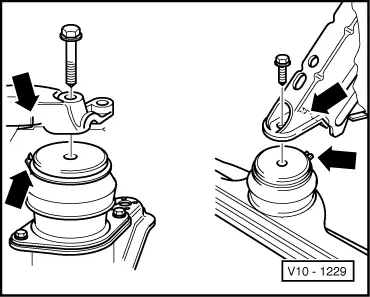
–  Make sure the centring bushings for the gearbox/engine group are properly aligned. Align them if necessary.
–  When lowering the engine unit, make sure there is sufficient play with the articulated half shafts.
   
–  When installing the engine supports, ensure that the right rear console clip and the front console groove fit into the metal/rubber bearing guides -arrow-.
–  Align the engine with a shaking movement so that the supports lie without tension.
–  Renew the pointed securing bolt for the gearbox finger (clean the gearbox finger threads).
–  Install the clutch control cable → 5-speed manual gearbox 085; Rep. Gr.30.
–  Install the right articulated half shaft → Running gear; Rep. Gr.40.
Vehicles with power assisted steering
–  Install the power assisted steering vane pump → Running gear; Rep. Gr.48.
Vehicles with an air conditioner
–  Install the air conditioner compressor → Heating, air conditioner; Rep. Gr.87.
–  Add coolant → Chapter.
–  Adjust accelerator cable → Chapter.
–  Install the Poly-V belt → Chapter.
–  Electrical connections and cabling harnesses → Current flow diagrams, Electrical fault finding and Fitting locations
–  Check the ignition timing and adjust if necessary → Diagnostics operations unitVAS 5051.
–  Read fault memories of all control units → Diagnostics operations unitVAS 5051.
–  Carry out test drive and read fault memories of all control units again.
  V10-1229

Tightening torques > < Removal: indications