Leon Mk1
| Part I |
| Part II Dismantling oil filter bracket → Chapter |

| 1 - | 15 Nm |
| 2 - | Sealing flange |
| q | Removing and installing → Chapter |
| q | Insert with silicone sealant -D 176 404 A2- → Chapter |
| q | Renewing crankshaft oil seal - pulley end → Chapter |
| 3 - | Chain tensioner with tensioning rail, 15 Nm |
| q | When installing, pretension spring and fit |
| 4 - | Dipstick |
| q | The oil level must not be above the max. mark! |
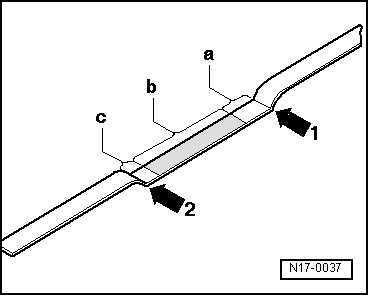
| q | Markings → Fig. |
| 5 - | Guide |
| q | Pull off to extract oil |
| 6 - | Guide tube |
| 7 - | Oil spray jet |
| q | For piston cooling |
| 8 - | Pressure relieve valve, 27 Nm |
| q | Öffnungsdruck: 2,5 … 3,2 bar Überdruck |
| 9 - | 15 Nm |
| 10 - | Suction pipe |
| q | Clean strainer if soiled |
| 11 - | O-ring |
| q | Renew |
| 12 - | Baffle plate |
| 13 - | Sump |
| q | Clean sealing surface before installing |
| q | Install with silicone sealant -D 176 404 A2- → Chapter |
| 14 - | Oil drain plug, 30 Nm |
| q | With attached seal |
| q | Renew |
| 15 - | Gasket |
| q | Renew |
| 16 - | Oil return pipe |
| q | From turbocharger |
| 17 - | 10 Nm |
| 18 - | Oil pump |
| q | With pressure relief valve of 12 bar |
| q | Before installing, check that both dowel sleeves for centralizing oil pump/cylinder head are fitted |
| q | Renew if running surfaces and gears are scored |
| 19 - | Chain sprocket for oil pump |
| 20 - | 25 Nm |
| 21 - | Chain |
| q | Mark D.O.R. before removing |
| q | Check for wear |
| 22 - | Dowel sleeves |

