
Leon Mk1
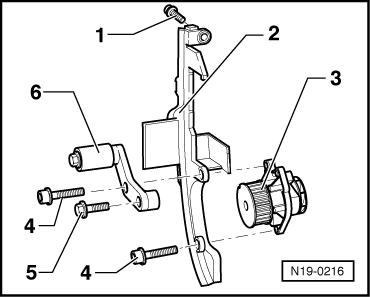
| Coolant pump removal and installation |

| Special tools and workshop equipment required |
| t | tester for anti-freeze protection -T10007- |
| t | pliers for spring-type clips -T20029- |
| t | counter support -T20018A- |
| t | torque wrench -SAT 8010- |
| t | drip tray -V.A.G 1306- |
 Note!
Note!
|
|
|
|
|