SEAT Workshop Service and Repair Manuals
HOME
FEATURES
MENU
INDEX
ABOUT US
Engine cylinder head, valve gear >
< Measuring radial clearance of conrods
Leon Mk1
Power unit
4-cylinder diesel engine (2.0 l 4V, TDI Common-Rail)
Enginecrankshaft group, pistons
Engine: assembly and dismantling
Removing and installing ancillary bracket
Removing and installing ancillary bracket
t
Removing
→ Anchor
t
Fitting
→ Anchor
Consult the equivalence table for tools and equipment according to applicability among Seat / VW / Audi / Skoda
→ Chapter
.
Special tools and workshop equipment required
t
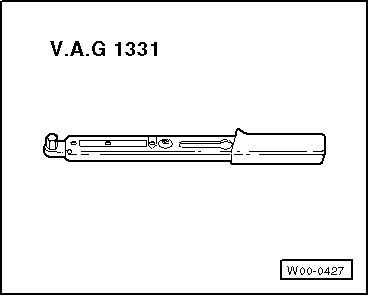
Torque wrench -VAG 1331-, see equivalent
→ Anchor
.
t
counterhold -T10038-, see equivalent
→ Anchor
Removing
–
Remove engine
→ Chapter
.
–
Remove high-pressure pump
→ Chapter
.
–
Remove the alternator
→ Electrical system; Rep. gr.27
.
WARNING
The air conditioning / Climatronic cooling circuit must not be opened.
Note
In order to avoid damage to the condenser or the pipes/hoses of the refrigerant, avoid pulling, bending or twisting excessively.
–
Unplug electrical connection
-1-
from the magnetic clutch for the compressor.
–
Remove compressor bolts
-arrows-
.
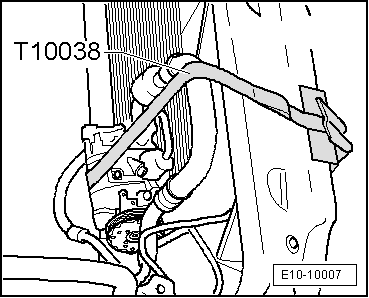
–
Remove the bracket of the coolant line on the right longitudinal beam.
–
Fasten the compressor to the lock carrier using the counterhold -T10038-.
–
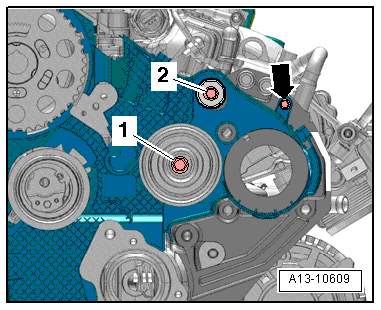
Unscrew idler rollers
-1-
and
-2-
and unscrew the bolt of the toothed belt guide
-arrow-
.
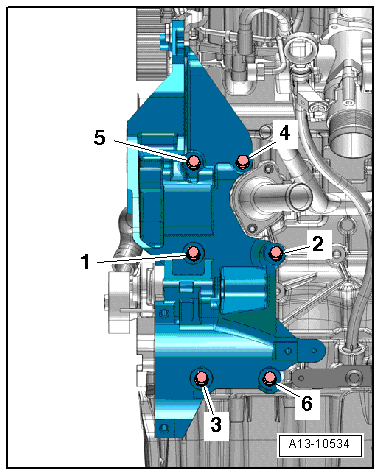
–
Remove bolts
-1 ... 6-
and detach bracket for ancillaries.
Fitting
Installation is carried out in the reverse order; note the following:
t
Note any fitted sleeves in ancillary bracket and renew missing ones if necessary.
t
Renew all bolts to be tightened with further turning angle.
–
Tighten the securing bolts in the sequence
-1 - 6-
. Tightening torque
→ Chapter
–
Install alternator
→ Rep. gr.27
.
–
Install high-pressure pump
→ Chapter
.
–
Install engine mountings
→ Chapter
.
Power unit
4-cylinder diesel engine (2.0 l 4V, TDI Common-Rail)
Enginecrankshaft group, pistons
Engine: assembly and dismantling
Engine cylinder head, valve gear >
< Measuring radial clearance of conrods
 Note
Note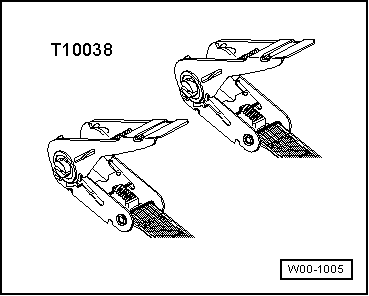
 WARNING
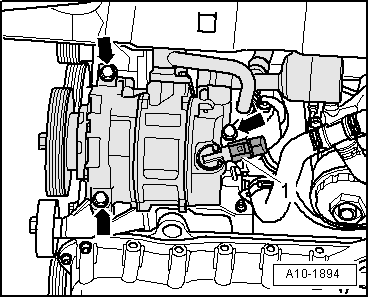
 Note
Note