seat Workshop Repair Guides

SEAT Workshop Service and Repair Manuals

Fuel preparation system Diesel injection > < Fuel supply components: Installing and removing:
Supercharger: removing and installing (engine codes BPX and BUK)
t  Removing → Anchor
t  Installing → Anchor.
Consult the equivalence table for tools and equipment according to applicability among Seat / VW / Audi / Skoda → Chapter.
Special tools and workshop equipment required
   
t  Torque wrench kit -SAT 8010-, see equivalent → Anchor
  L00-10226
t  Counterhold -T20174- or Pliers -T20029-, see equivalent → Anchor
Removing
–  Removing front bumper trim: → Bodywork, exterior fitting work; Rep. Gr.63
–  Remove the bumper bracket → Bodywork, exterior fitting work; Rep. Gr.50.
–  Separate the air conduit from the intake sleeve; to do this, lift the retainers slightly.
  W00-2456
–  Loosen the attachment clamps and disconnect the hoses from the intercooler.
–  Unscrew the nuts securing the lower intercooler pipe.
–  Remove the bolts -arrows- and separate the intercooler.
Installing .
Installation is carried out in the reverse order of removal while noting the following:
  E21-10012
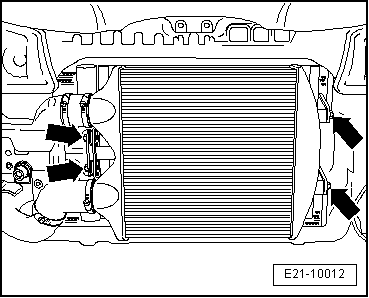
–  Fit the intercooler and secure with the bolts -arrows-.
–  Secure the lower pipe of the intercooler, using the nuts → Item.
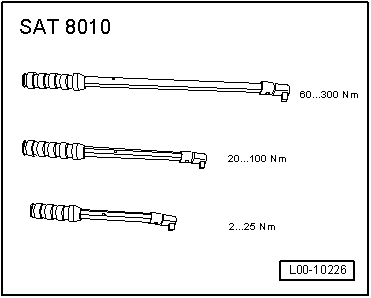
  WARNING
Tighten the nuts and bolts securing the intercooler and the pipes to the correct torques, otherwise they may produce noise and vibrations.
  Note
t  The sleeves for the hoses and the supercharger air flow tubes should be free of oil and grease before fitting.
t  Replace the O-rings if they are damaged.
  WARNING
When assembling the supercharger air pipes, do not use an oil-based lubricant.
–  Fit the supercharger air system hoses and observe the assembly instructions → Chapter.
–  Fit front bumper lining: → Bodywork, exterior fitting work; Rep. Gr.63
  E21-10012

Fuel preparation system Diesel injection > < Fuel supply components: Installing and removing: