seat Workshop Repair Guides

SEAT Workshop Service and Repair Manuals

Fuel gauge sendersG: check > < Checking fuel pump delivery
Removing and installing fuel delivery unit
t  Removing → Anchor.
t  Installing → Anchor.
Consult the equivalence table for tools and equipment according to applicability among Seat / VW / Audi / Skoda → Chapter.
Special tools and workshop equipment required
   
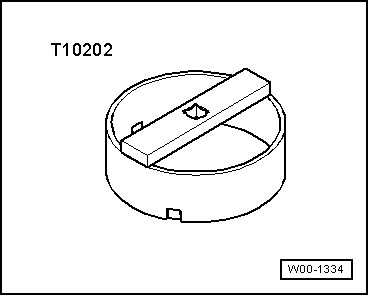
t  Turning tool -T10202-, see equivalent → Anchor
  W00-1334
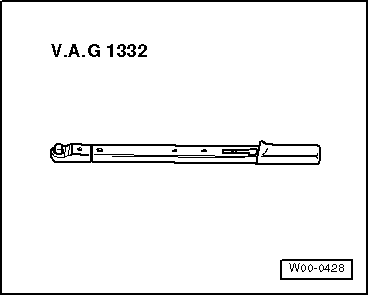
t  Torque wrench (40 - 200 Nm) -V.A.G 1332-, see equivalent → Anchor
Removing
Observe safety precautions → Chapter.
Observe rules for cleanliness → Chapter.
l  For removing the fuel supply unit, the fuel tank should be filled to a maximum of 3/4 of its capacity. If necessary then drain the tank. Procedure → Chapter
  Caution
When disconnecting battery, observe safety measures → Electrical system; Rep. gr.27.
  W00-0428
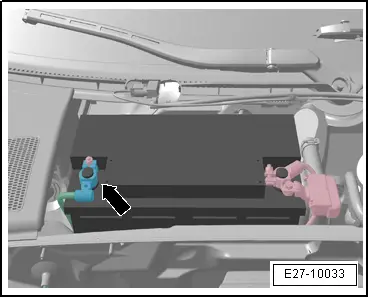
–  With ignition switched off, disconnect earth wire -arrow- at battery.
–  Remove the luggage compartment cover.
–  If necessary, fold forward right backrest of rear seat bench.
  E27-10033
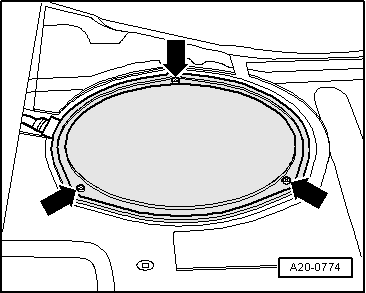
–  Loosen the bolts -arrows- and remove the fuel delivery unit.
  A20-0774
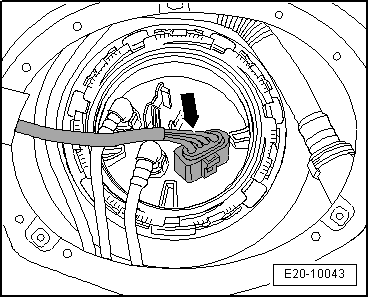
–  Extract the connector -arrow- from the fuel delivery unit.
  E20-10043
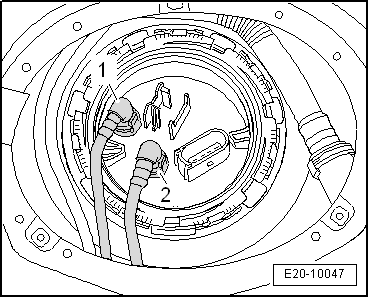
–  Remove fuel return and supply lines -1- and -2-
  WARNING
The fuel system is pressurised. Before opening the system place a cloth around the connection. Then release pressure by carefully loosening the connection.
–  Remove both the lines from the fuel pump unit. Also press the release tabs.
  WARNING
The fuel pump unit may be removed only with the tank at maximum 3/4 full. Otherwise a large amount of fuel will escape.
  E20-10047
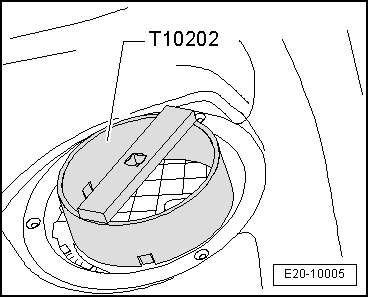
–  Unscrew union nut using tool -T10202-.
–  Pull the fuel pump unit a little from the opening of the fuel tank and remove the oil seal.
–  Press the fuel pump unit still in the fuel tank a little to the side.
  E20-10005
–  Put in your hand and remove the injection line -1- from the valve. Press the unlocking button.
–  Unlock and remove the nozzle -arrows-.
–  Remove the fuel supply unit .
  Note
When removing the fuel delivery unit, do not bend the floater arm of the fuel level gauge sender -G- .
Installing
Reassembly is carried out in the reverse order; note the following:
  Note
t  Renew seal.
t  Take care not to bend float arm of fuel gauge sender when fitting fuel delivery unit -G-.
t  Make sure that fuel hoses are securely fitted.
–  Fit the fuel delivery unit on the fuel tank.
–  Clip the suction jet pump to the fuel pump unit. The suction-jet pump should click into place.
–  Check that the suction jet pump is latched in firmly.
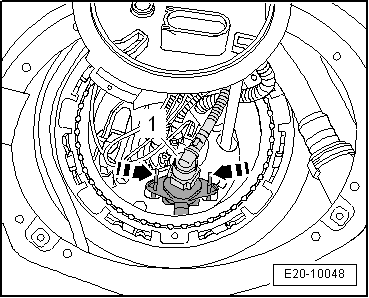
  E20-10048
–  Join the injection line -1- at the connection of the nozzle so that you hear it click in place.
–  Insert the new oil seal of the fuel pump unit.
  E20-10048
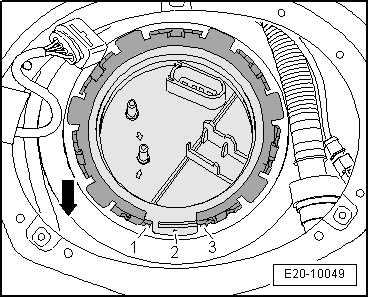
The tab -2- on the sealing flange must lie between the tongues -1- and -3- on the fuel tank.
–  Press down against the spring force and being the locking flange in assembly position.
  Note
-Arrow- indicates flow direction.
  E20-10049
–  Unscrew union nut using tool -T10202-.
  E20-10005
–  Install fuel feed line -1- and fuel return hose -2- according to marking.
–  Reconnect connectors.
–  Connect battery. Observe measures to be taken after connecting the battery → Electrical system; Rep. gr.27.
Specified torque .
  E20-10047
Components:Nm
Union nut for fuel pump unit145


Fuel gauge sendersG: check > < Checking fuel pump delivery