seat Workshop Repair Guides

SEAT Workshop Service and Repair Manuals

Engine cylinder head, valve gear > < Piston and piston rod
Additional sub-frame bracket: removing and fitting
t  Removing → Anchor
t  Fitting → Anchor
t  Torque values → Anchor
Consult the equivalence table for tools and equipment according to applicability between Seat / VW / Audi / Skoda → Chapter.
Special tools and workshop equipment required
   
t  Counterhold -T10038-, see equivalent → Anchor
Removing
  Note
To perform these tasks, the battery earth strap must be removed. The vehicle should be checked for a fitted radio. If necessary, obtain the anti-theft code for the radio first.
–  With ignition switched off, disconnect battery earth strap.
–  Remove the ribbed-belt → Chapter.
  W00-1005
–  Unscrew the bolts -arrows- and remove the Poly V-belt tensioner.
  E13-0207
–  Unplug electrical connector -arrow-.
–  Unscrew the nut -1- and remove the electric cable -2- from the alternator.
  E13-0199
–  Unscrew the bolts -1- and remove the alternator.
  E13-0207
–  Unscrew the fastening bolts -arrows- and remove the engine noise damping cover.
  N10-10175
–  Remove right hand side noise insulation -fastening points 1 ... 3-.
  A10-1643
Vehicles with air conditioning/climate control
–  Unlock the electrical connection -1- from the magnetic coupling on the compressor.
–  Remove the compressor bolts -arrows-.
  A10-1637
–  Suspend the climate control compressor with the coolant flexible hoses still connected above, secured using the counterhold -T10038- to the lock carrier plate; take special care not to damage the system.
  E10-10007
All vehicles (continued)
–  Unscrew the support bolts for the additional units, in line with the order established -F--A-.
Fitting
  E13-0222
–  Use new bolts.
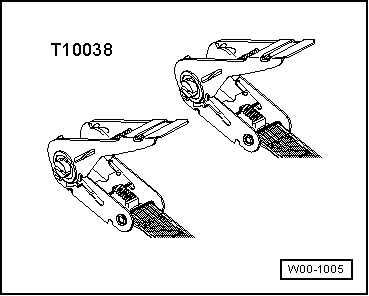
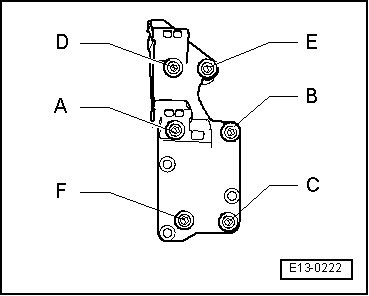
–  Tighten the support bolts for the additional units, in line with the order established -A--F-.
Installation is carried out in reverse order, noting the following:
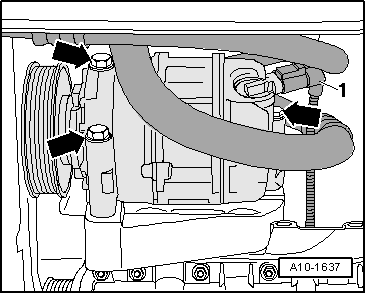
–  Fit the climate control compressor with the refrigerant hoses hoses connected, take special care not to damage the system.
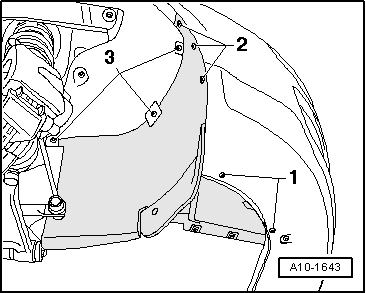
–  Fit the right-hand sound damping.
–  Fit the engine sound damping cover.
–  Fit the alternator.
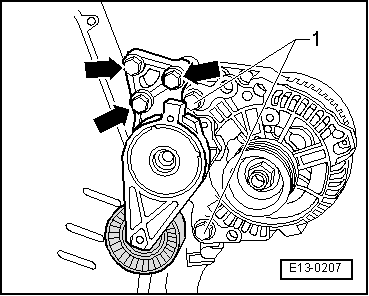
–  Fit the tensioning device for Poly-V belt .
–  Fit the Poly-V belt → Chapter.
  Note
On reconnecting battery, remember to enable the vehicle equipment (radio/radio navigation system, clock, electric window lifters) in line with the Instructions Manual.
Torque values
  E13-0222
ComponentNm
Bracket for additional units45 → Note

1)  Renew bolts
   

Engine cylinder head, valve gear > < Piston and piston rod