| –
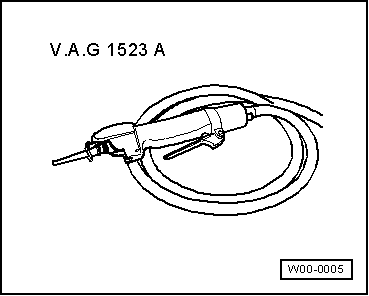
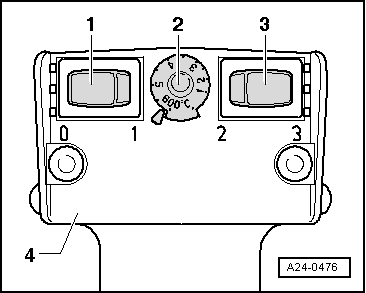
| Turn temperature setting potentiometer -2- to maximum heat output (600 °C). |
| –
| Set two-stage switch for volume of air -3- to position 3. |

Note | t
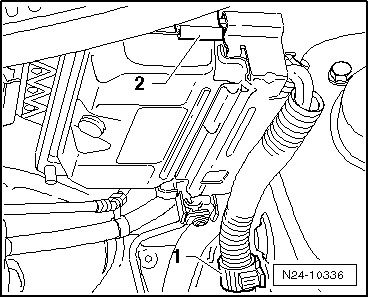
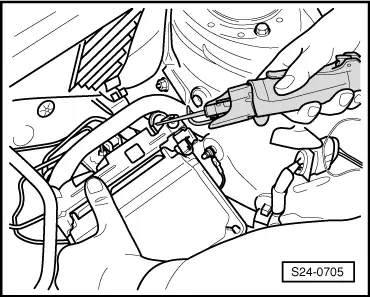
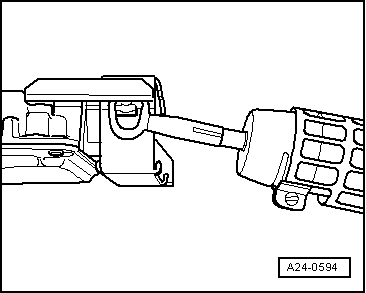
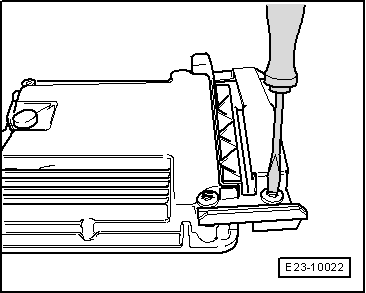
| Next, heat the breakaway bolts with the hot-air gun. This reduces the strength of the threadlocker on the thread of the breakaway bolts to make them easier to remove. |
| t
| Cover all painted parts to prevent damage from the hot-air gun or the self-locking pliers. |

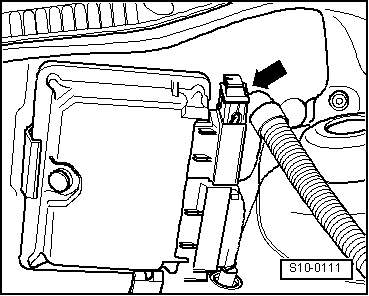
WARNING | The threads of the two shear screws which are screwed into the engine control unit are not secured with locking fluid. Do not apply heat to the threads in the control unit housing; this is not necessary and would cause overheating of the control unit. |
| When breakaway bolts are heated, some parts of the protective casing become very hot. Risk of burn injuries! Also, make sure that, as far as possible, you only heat the breakaway bolt and not adjoining parts. If necessary, cover these parts. |
|
Note | Next, heat the breakaway bolts with the hot-air gun. This reduces the strength of the threadlocker on the thread of the breakaway bolts to make them easier to remove. |
|
|
|