
Leon Mk1
|

| Special tools and workshop equipment required |
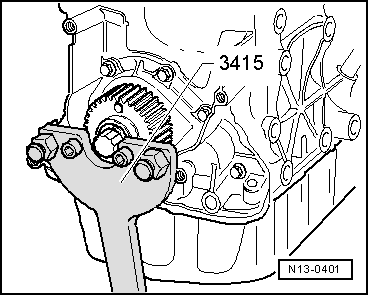
| t | Hose clamp -3415-, see equivalent → Anchor |
| t | Mounting tool -T10053-, see equivalent → Anchor |
| t | Torque wrench (5 - 50 Nm) -V.A.G 1331-, see equivalent → Anchor |
| t | Torque wrench (40 - 200 Nm) -V.A.G 1332-, see equivalent → Anchor |
| t | Electric drill with plastic brush attachment |
| t | Flat scraper |
| t | Silicone sealant → Spare parts catalogue |
|
 Note
Note
|
|
 WARNING
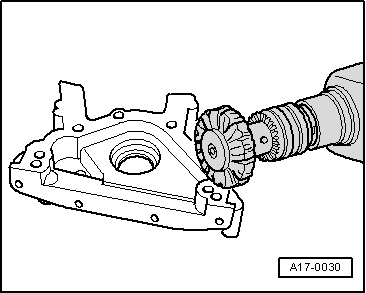
Note
|

|
Note
|
|
Note
|
|
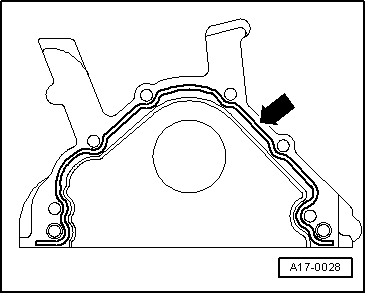
| Component | Nm | |
| Sealing flange to cylinder block | 15 |