seat Workshop Repair Guides

SEAT Workshop Service and Repair Manuals

Repair instructions if tank has been filled with incorrect fuel > < Rules for cleanliness
Fuel system pressurisation pumpG6: Electric operation test
Fuel system pressurisation pump -G6-: Electric operation test
t  Test requirements → Anchor
t  check operation and electricity supply → Anchor
t  Checking current consumption of fuel pump → Anchor
Consult the equivalence table for tools and equipment according to applicability among Seat / VW / Audi / Skoda → Chapter.
   
Special tools and workshop equipment required
t  Remote control -V.A.G 1348/3 A- with adapter wire -V.A.G 1348/3-3-, see equivalent → Anchor
t  Manual multimeter -VAG 1526E-, see equivalent → Anchor
t  Auxiliary measuring tool -V.A.G 1594C-, see equivalent → Anchor

Test requirements
l  Fuses must be OK.
l  Battery voltage at least 11.5 V
l  All electrical consumers, e.g. lights and rear window heating, must be switched off.
check operation and electricity supply
–  Remove rear right seat → Bodywork - Interior fitting work; Rep. gr.72.
   
–  Release retainers -arrows- at cover for sealing flange.
–  Release carefully electrical connection -arrow- on sealing flange and take off.
–  Switch on ignition. The fuel pump should be heard to come on.
–  Switch ignition OFF.
  A20-1066
If the fuel pump does not start:
–  Release carefully electrical connection -arrow- on sealing flange and take off.
  A20-1067
–  Connect the remote control -V.A.G 1348/3 A- with adapter cable -V.A.G 1348/3-3- to contact -1- with an cable from the auxiliary measurement set -V.A.G 1594C-.
–  Cover the second contact of the adapter wire -V.A.G 1348/3-3- with insulating tape -arrow- to avoid shorts.
–  Join contact -5- to the bodywork earth using a cable from the auxiliary measurement set -V.A.G 1594C-.
–  Connect the clip to the battery positive terminal („+“).
–  Press remote control button.
l  Pump should start running audibly.
  Note
The fuel pump is very quiet. When testing the fuel pump ensure surrounds are quiet.
  A20-1120
If you do not hear the pump functioning:
–  Remove the fuel delivery unit → Chapter.
–  Check that the electrical wires between the flange and the fuel pump are coupled and that current circulates.
If the wires are OK, the fuel pump is faulty. Therefore the fuel delivery unit should be replaced.
–  Install the fuel delivery unit → Chapter.
Checking current consumption of fuel pump
–  Extract the terminal connector from the fuel delivery unit flange
  A20-0477
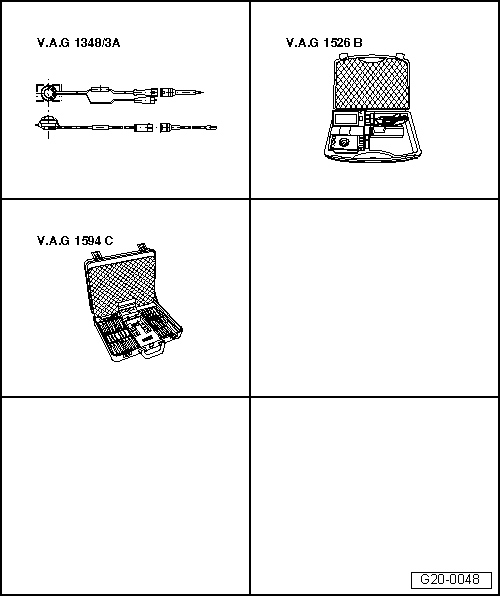
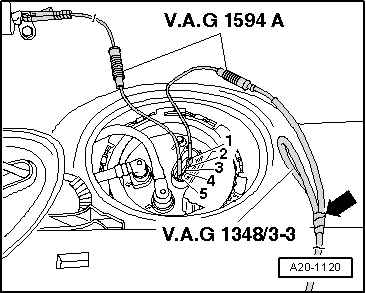
–  Adjust the multimeter to the 20 A range and connect it in series between the contacts -1- of the connector and the fuel pump using the auxiliary cables of the auxiliary measurement set -V.A.G 1594 C-.
  Note
Also the pincer of the vehicle diagnostic, testing and information system -VAS 505X- may be connected between the contacts -1- of the connector and the fuel pump.
–  Join the contacts -5- of the connector and the fuel pump using an auxiliary cable from the auxiliary measurement set -V.A.G 1594 C-.
–  Start engine and run at idling speed.
–  Measure the power consumption of the fuel pump. Specification: 3.5 to 4.5 amps.
–  If the measured value is not within specifications:
–  Renew fuel delivery unit → Chapter
  N20-0710

Repair instructions if tank has been filled with incorrect fuel > < Rules for cleanliness