seat Workshop Repair Guides

SEAT Workshop Service and Repair Manuals

Exhaust turbocharger, G-charger > < Activated charcoal filter system - exploded view
Removing and installing activated charcoal filter
t  Removing → Anchor
t  Install → Anchor.
t  Tightening torques → Anchor
Removing
–  Observe all safety precautions and rules for cleanliness → Chapter.
–  Unbolt the front right-hand wheel.
–  Remove the front right wheel housing moulding → Bodywork, Exterior fitting work ; Rep. gr.66.
   
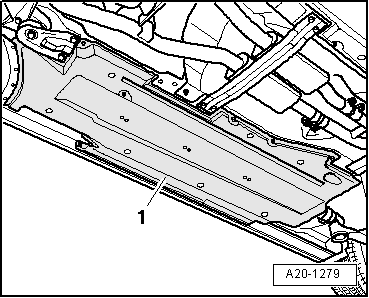
–  Remove cover panel -1- from underbody (front right).
  A20-1279
–  Move vent line -1- by actuating release button to fuel tank.
–  Unplug vent pipe -2-.
–  Remove the air filter housing → Chapter.
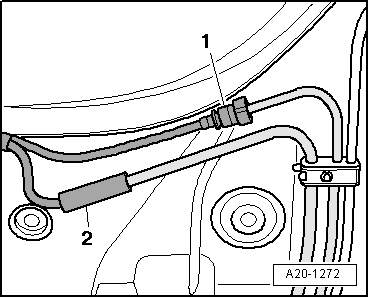
  A20-1272
–  Move vent line -2- to solenoid valve 1 for activated charcoal reservoir -N80-.
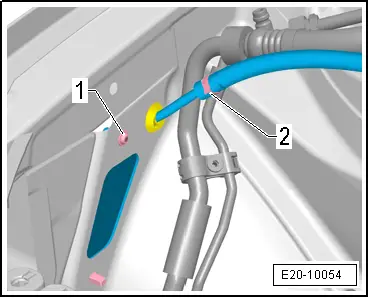
–  Loosen bolt -1- for air intake line in wheel wells.
  E20-10054
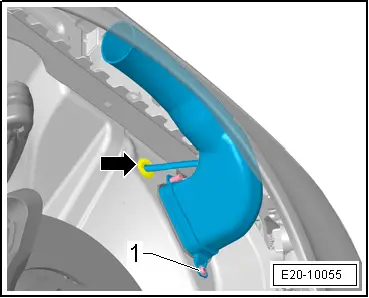
–  Loosen bolt -1- and remove air intake line in wheel wells.
–  Pull vent line -arrow- to wheel well and lay down to side.
  E20-10055
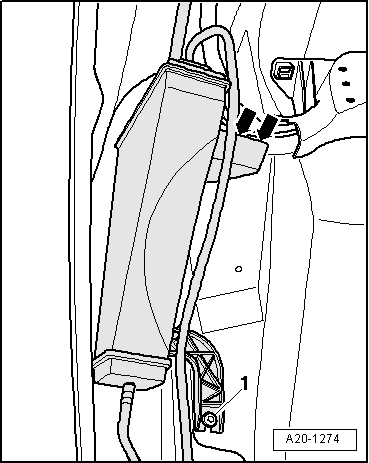
–  Unscrew bolt -1- and unhook activated charcoal reservoir from top -arrows-.
–  Remove the active charcoal tank with the venting pipes.
Installing
Installation is carried out in the reverse sequence; note the following:
  Note
Secure all screw joints with serial hose clips → Spare parts catalogue.
–  Attach activated charcoal filter at top mounting.
–  Secure activated charcoal filter to wheel housing.
–  Fit the front right-hand wheel housing guard → Bodywork, exterior fitting work ; Rep. gr.66
Tightening torques
  A20-1274
ComponentNm
Activated charcoal filter to body1,5
Air exhaust line on wheel wheel shell1,5


Exhaust turbocharger, G-charger > < Activated charcoal filter system - exploded view