seat Workshop Repair Guides

SEAT Workshop Service and Repair Manuals

Fuel tank > < Fuel and autogas supply unit: repairs
Removing and installing fuel tank
Consult the equivalence table for tools and equipment according to applicability between Seat / VW / Audi / Skoda → Chapter
Special tools and workshop equipment required
   
t  Torque wrench (5…50 Nm) -V.A.G 1331-
  W00-0427
t  Engine and gearbox jack -V.A.G 1383 A-
Removing fuel tank
–  Observe the safety precautions before starting work → Chapter .
–  Unscrew the fixing screw for the fuel tank cap unit and remove the fuel tank cap unit → Bodywork, exterior fitting work; Rep. gr.55
–  Drain fuel tank, clean fuel filler and surrounding area.
–  Remove the rear right seat → Rep. gr.72
  W00-0120
–  Remove cover from fuel delivery unit.
  A20-1206
–  Extract the connector -arrow- from the fuel delivery unit.
–  Remove right rear wheel.
–  Remove rear right wheel housing moulding → Bodywork, exterior fitting work; Rep. gr.50
  N20-10623
–  Unscrew the fuel inlet funnel from the bodywork -arrows-.
–  Unclip the electric line at the fuel inlet funnel.
–  Remove the centre and rear silencer.
  WARNING
Fuel supply line is pressurised. Wear safety goggles and appropriate clothing to avoid injury and contact with skin. Before loosening hose connections, wrap a cloth around the connection. Then eliminate the pressure by carefully separating the pipe.
  N20-0705
–  Disconnect the breather pipe -1- (white) and the fuel pipe -2- (black) at their connections.
  Note
Press in safety wedge to release fuel lines.
  A20-1070
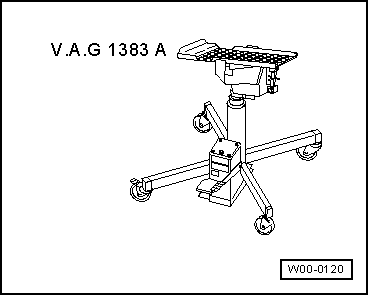
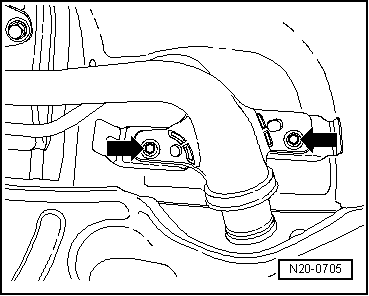
–  Remove the support straps and the securing bolts -arrows-. During this operation, support the fuel tank with the engine and gearbox crane -V.A.G 1383 A-.
–  Lower the fuel tank.
Installing fuel tank
Installation is carried out in reverse order. The following should be taken into account:
t  Only use screws with loose washers for fixing the retaining straps of the fuel tank. If another screw type is use, the straps may twist when tightening. Screws → ETKA (Electronic spare parts catalogue)
t  
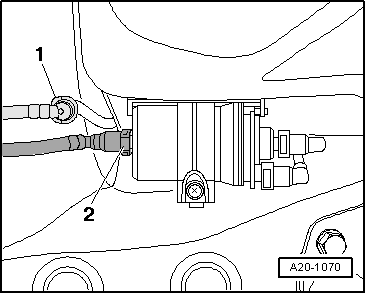
Install breather and fuel lines free of kinks.
t  Do not interchange supply and return hose (return hose blue or blue markings, supply hose black).
t  Ensure that line connections are tight.
t  
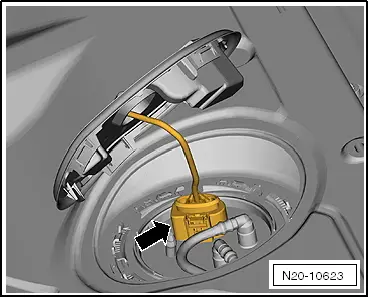
Check earth connection on fuel tank and body to filler neck.
t  
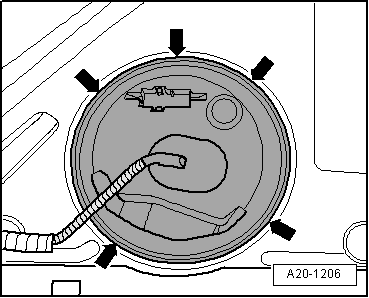
After installing fuel tank, check that the supply, return and breather lines are still clipped onto the fuel tank.
t  Purge the fuel system → Chapter.
  N20-10143

Fuel tank > < Fuel and autogas supply unit: repairs