| –
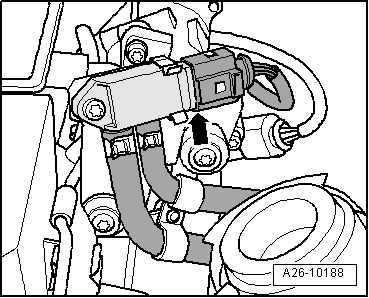
| Unplug the electrical connector -arrow-. |
| –
| Remove the pressure sensor from the bracket. |
| –
| Mark the hoses so as not to confuse them when installing again exhaust gas pressure sensor 1 -G450--Item 1-. |

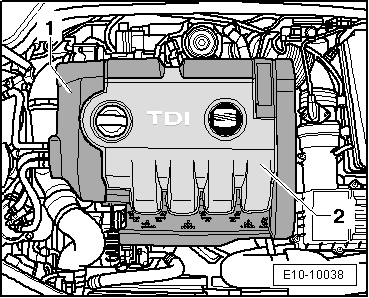
Note | For improved understanding, it is shown in the illustration with engine removed from behind. |
| –
| Open the hose clamps and lubricate both hose with a non-silicone based lubricant. |
| –
| Carefully and in a straight line, separate the hoses from the connecting sleeves (the sleeves break easily). |
| Installation is carried out in the reverse sequence; note the following: |
Note | Secure all hose connections with the correct hose clips (same as original equipment) → Parts catalogue. |
| –
| Apply compressed air in the flexible tubes, towards the particle filter. |
| –
| After marking them, connect the flexible tubes in the exhaust gas pressure sensor 1 -G450-. |
|
|
|