Leon Mk1
|

| 1 - | All-wheel drive control unit -J492- |
| q | Calibrated with coupling opening control valve -N373- → Item. |
| q | Always renew together with valve → Item |
| q | Removing and installing → Chapter>>>>>>>> |
| 2 - | Bolt, 6 Nm |
| 3 - | Cap |
| q | With vulcanised seal |
| q | Always replace. |
| 4 - | Coupling opening control valve -N373- |
| q | Calibrated to match four-wheel drive control unit -J492- |
| q | Always renew together with control unit → Item |
| 5 - | Seal |
| q | »Modified« version with diagonally located centring lips |
| q | Replaces the seal → Item. |
| q | Observe proper seating of centring lips in the groove |
| q | Moisten with high performance oil for Haldex clutches and install |
| q | Always replace. |
| 6 - | Seal |
| q | »Old« version |
| q | The »modified« version is included in the seal set → Item |
| 7 - | Seal |
| q | Diameter 12 mm |
| q | For the valve that controls the opening of the clutch -N373- |
| q | Moisten with high performance oil for Haldex clutches and install |
| q | Always replace. |
| 8 - | Seal |
| q | Diameter 11 mm |
| q | For the valve that controls the opening of the clutch -N373- |
| q | Moisten with high performance oil for Haldex clutches and install |
| q | Always replace. |
| 9 - | Seal |
| q | With oil pressure and oil temperature sender -G437- |
| q | Moisten with high performance oil for Haldex clutches and install |
| q | Always replace. |
| 10 - | Oil pressure and oil temperature sender -G437- |
| q | Can be re-used when renewing control unit |
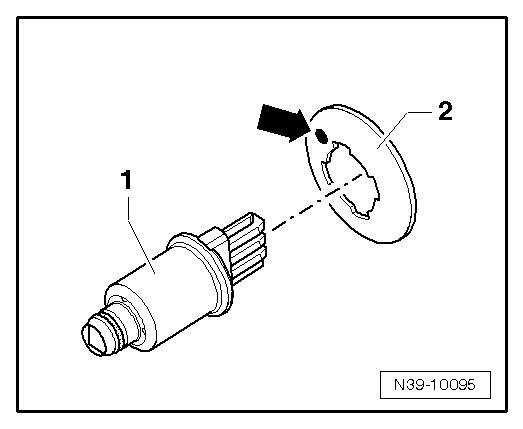
| 11 - | Dished spring |
| q | In the installation position, the mark -arrow- must point up towards the pressure sensor → Fig. |