seat Workshop Repair Guides

SEAT Workshop Service and Repair Manuals

Removing and installing rear final drive, Alhambra?2011?? > < Haldex Clutch, (4th generation), perform a function test
Renewing grooved ball bearing for Haldex coupling
Consult the equivalence table for tools and equipment according to applicability among Seat / VW / Audi / Skoda → Chapter.
   
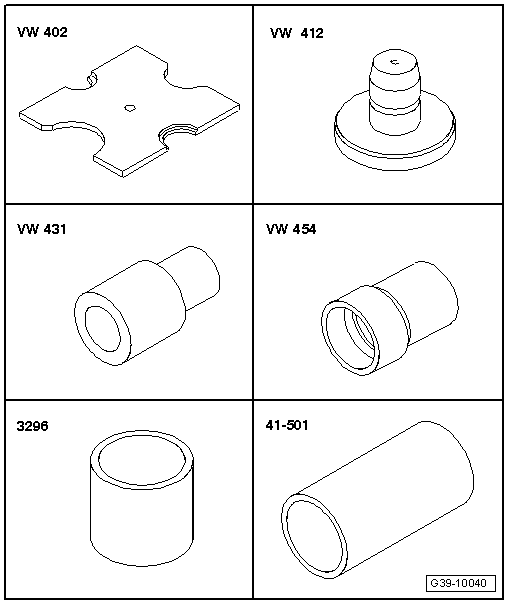
Special tools and workshop equipment required
t  Support equipment -VW 402-
t  Tappet -VW 412-
t  pressure tool -VW 431-
t  pressure tool -VW 454-
t  Tube -3296-
t  Tappet -41 501-

   
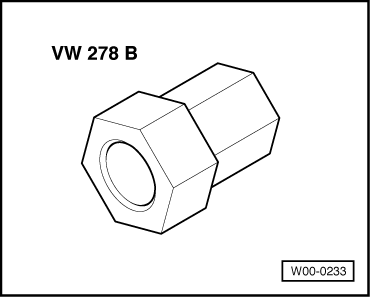
t  Adjustment wrench -VW 278B-
  W00-0233
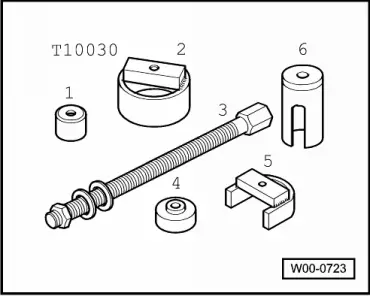
t  Drift sleeve -T10030/6-
  W00-0723
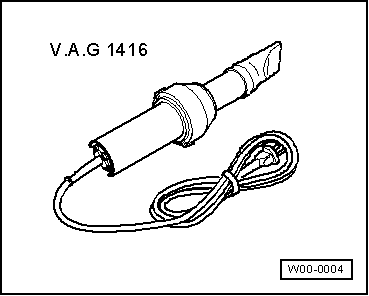
t  Hot air blower -VAG 1416-
–  Remove the seal that rests on the flange for the propshaft on the rear final drive → Chapter.
  W00-0004
–  Remove Haldex coupling → Chapter.
–  Place Haldex coupling on a clean workbench.
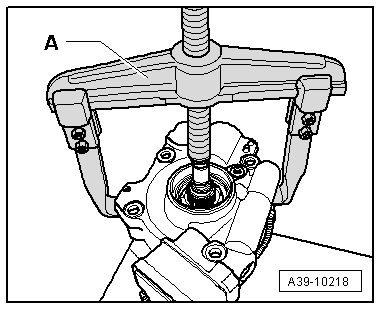
–  Detach housing for Haldex coupling
A - Two-arm puller (extension of the arms up to 200 mm, length 150 mm) -KUKKO 20/20-
  A39-10218
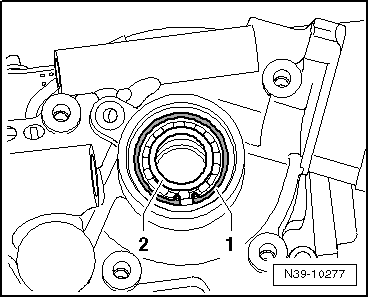
–  Remove circlip -1-.
  N39-10277
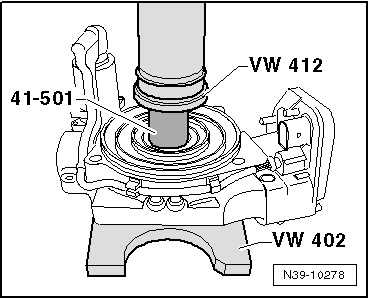
–  Press out grooved ball bearing.
  N39-10278
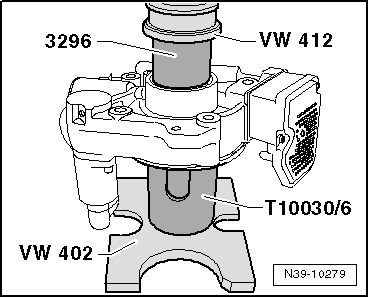
–  Carefully press new grooved ball bearing in until stop.
  N39-10279
–  Fit the securing ring -1-.
–  Heat the grooved ball bearing -2- to about 80°C using the hot air gun -VAG 1416-.
  N39-10277
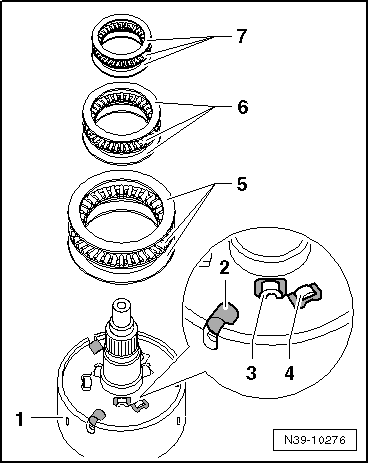
–  Position axial needle bearings -5 ... 7- on the centre of multi-plate clutch -1- → Fig. „„Assembly of multi-plate clutch““.
–  Fit Haldex coupling housing onto multi-plate clutch -1- by hand.
  Note
It must be ensured that the axial needle bearings -5 ... 7- do not change their centred position when the housing is mounted.
–  Before fitting the new seal, lightly lubricate it around the outer diameter and between the sealing lips with high performance oil for Haldex clutches → Spare parts catalogue
  N39-10276
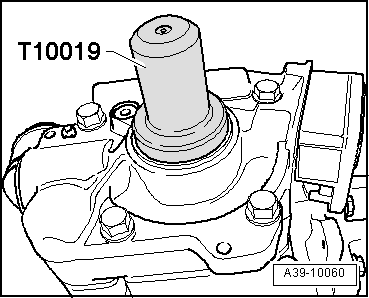
–  Drive in new oil seal as far as stop using thrust piece -T10019-. Make sure seal remains straight.
  A39-10060
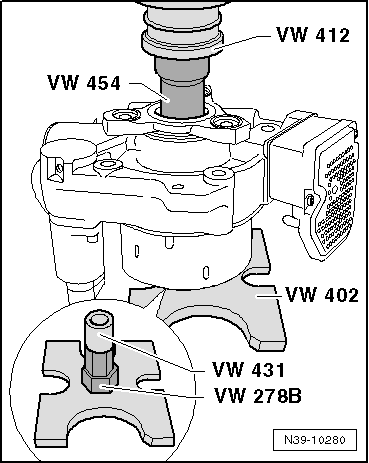
–  Press on propshaft flange.
  Note
  N39-10280
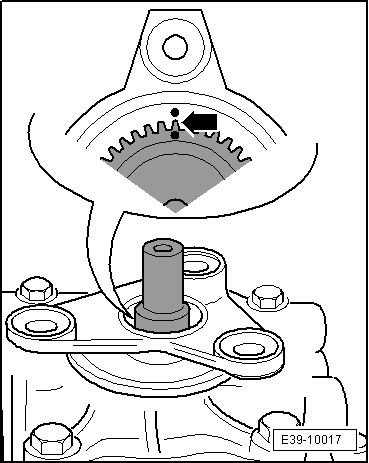
Drive in the cardan shaft flange in such a way that the marks -arrow- are in line.
  E39-10017
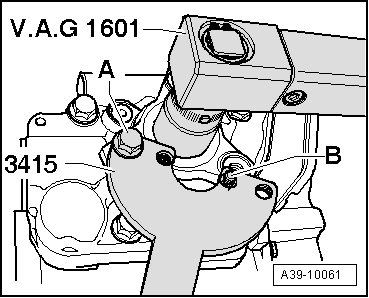
–  Install a new hexagonal nut with a fastener product → Spare parts catalogue and tighten it to the proper torque → Anchor.
A - Hexagonal bolts M10 x 20.
B - Hexagon socket bolt M8 x 15 (screwed from back side into counterhold -3415-).
–  Install Haldex coupling → Chapter.
Tightening torque
  A39-10061
Component Nm
Flange for propshaft to rear final drive210


Removing and installing rear final drive, Alhambra?2011?? > < Haldex Clutch, (4th generation), perform a function test