Leon Mk1
|
|
|
|
|
|
|
 Note!
Note!
|
|
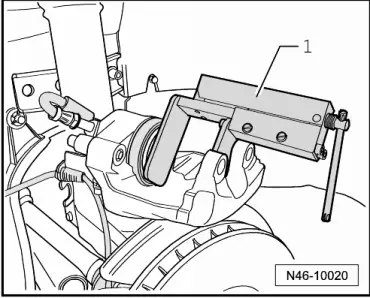
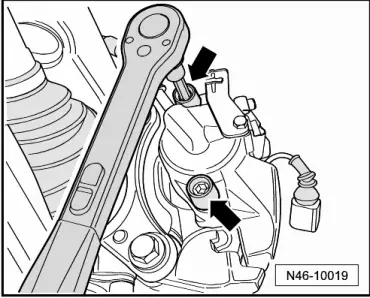
| Torque settings | |
| Brake caliper to brake carrier | 30 Nm |

|
|
|
|
|
|
|
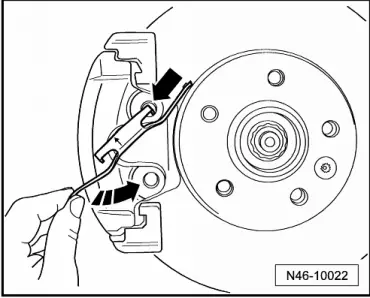
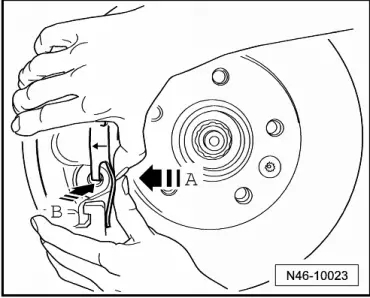
Note!
|
|
| Torque settings | |
| Brake caliper to brake carrier | 30 Nm |