| t
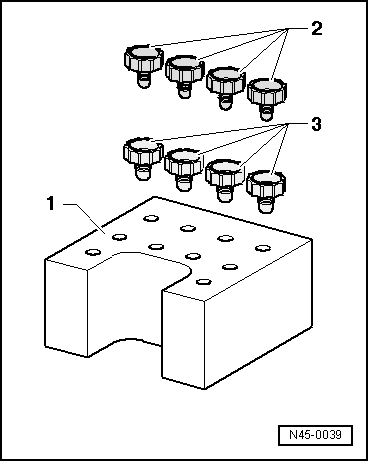
| Plugs from repair kit 1 H0 698 311 A |
| Observe instructions for ABS repairs → Chapter. |

Caution | The brake pipes should not be folded or kinked in area of the hydraulic unit. |
|
| Continued for all vehicles |
| –
| With ignition switched off disconnect battery earth strap. |

Note! | To carry out this work it will be necessary to disconnect battery earth strap. For this reason it will be necessary to check whether the vehicle is fitted with a coded radio. If so, the anti-theft code must be previously recorded. |
| –
| Place a sufficiently large cloth which does not fray on the plenum chamber, engine and gearbox area. |
| –
| Remove as much brake fluid as possible from the brake fluid deposit, using an an extraction bottle. |
| –
| Disconnect the brake fluid level sender connector. |
| –
| Remove the brake pipes from the master cylinder and seal the tubes with the caps 1 H0 698 311 A. |
| –
| Unscrew the hexagon nuts from the master cylinder. |
| –
| Carefully remove the master cylinder from the brake servo. |
| –
| Install in reverse order. |
| The following points must be borne in mind for installation: |
| –
| Make sure that the push rod is properly placed in the master cylinder on fitting this to the brake servo. |
| –
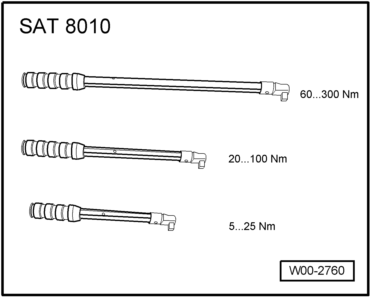
| Bolt the master cylinder to the brake servo. Tightening torques: 20 Nm Replace after removing. |
| –
| After installation, bleed the brake system of air → Chapter. |
|
|

|

 Note!
Note!

 Note!
Note!