Caution | When removing and installing drive shafts, do not allow them to hang free and stop against joints due to excessive bending. |
|
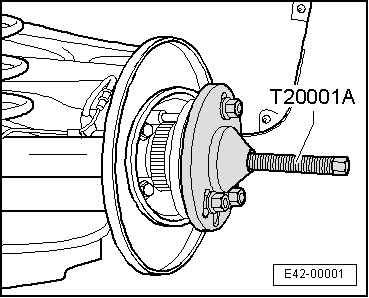
| –
| Release the bolt from the outer side of the half-shaft. |
| t
| Twelve-point head bolt with ribbing → Chapter |
| t
| Twelve-point head bolt without ribbing → Chapter |
Caution | Wheel bearings must not be subjected to load after loosening bolt securing drive shaft at wheel hub. |
| If they have to support the weight of the vehicle they will be damages and their service life will be reduced. |
| It is not permissible to turn drive shaft bolt more than 90° anti-clockwise if vehicle is standing on its wheels. |
| Do not attempt to move the vehicle without the drive shafts fitted; this would result in wheel bearing damage. If a vehicle nevertheless has to be moved, comply with the following: |
| t
| Install an outer joint instead of the drive shaft. |
| t
| Tighten outer joint to 120 Nm. |
|
| –
| Unscrew the half-shaft from the flanged shaft /gearbox. |
|
|
|