seat Workshop Repair Guides

SEAT Workshop Service and Repair Manuals

heat shields: Removing and installing > < Remove and fit the power steering box .
Servotronic solenoid valveN119 : Removing and installing
Servotronic solenoid valve -N119 -: Removing and installing
Special tools and workshop equipment required
   
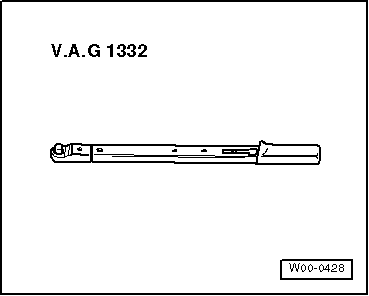
t  Torque wrench -V.A.G 1332-, see equivalence → Anchor
t  Grease for steering gear: Allocation: → Parts catalogue
Removal:
Replacement is only possible with steering box removed from vehicle.
–  Remove the steering box → Chapter.
  W00-0428
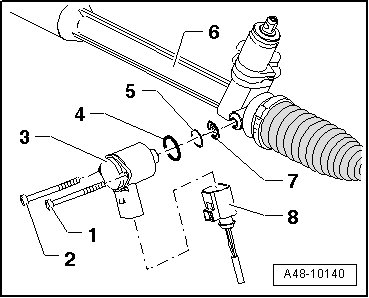
–  Thoroughly clean steering box -6- in vicinity of solenoid valve-3-.
–  Make sure that no dirt enters steering box -6-.
–  Separate connector -8-.
–  Make sure that no dirt enters connector -8-.
–  Unscrew bolts -1- and -2-.
–  Pull solenoid valve-3- out of steering box -6-.
–  Take strainer -7- out of steering box -6-; clean steering box if necessary.
Installation
Installation is carried out in reverse order. Note the following:
  A48-10140
–  Install new strainer -7-.
–  Lightly grease seals -4- and -5- with steering box grease and fit seals.
–  Insert solenoid valve-3- into steering box -6- as far as stop. Take care to keep solenoid valve straight when installing.
  Caution
Important: Observe correct tightening sequence of bolts.
–  Tighten bolts -1- and -2- as follows:
1 - Tighten bolt -1- to 0.5 Nm.
2 - Tighten bolt -2- to 1.5 Nm.
3 - Tighten bolt -1- to 3.0 Nm.
4 - Tighten bolt -2- to 3.0 Nm.
–  Install steering box → Chapter.
  A48-10140

heat shields: Removing and installing > < Remove and fit the power steering box .