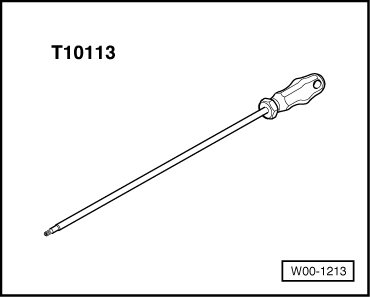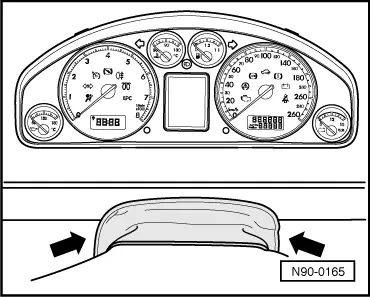
Note! | Observe the notes and work procedure instructions for fault recognition and fault displays before removing the dash panel insert → Chapter. |
| Before beginning dismantling work, perform the following procedures: |
| –
| Switch off ignition and all electrical consumers and remove ignition key. |
| –
| Lower steering column and pull out towards own torso. |
| –
| Remove cover on relay plate located on left next to steering column. |

Note! | It is not necessary to remove the steering wheel. For clarity the steering wheel is not shown in the following illustration. |
|
|

|
 Note!
Note! Note!
Note!

 Note!
Note! Note!
Note!
