seat Workshop Repair Guides

SEAT Workshop Service and Repair Manuals

Warning lamp symbols and instruments in dash panel insert > < Renewing dash panel insert
Removing and installing dash panel insert
  Note!
Observe the notes and work procedure instructions for fault recognition and fault displays as well as replacing dash panel insert before removing the dash panel insert → Chapter.
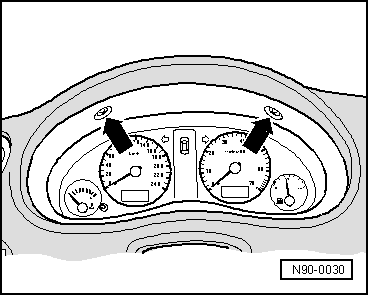
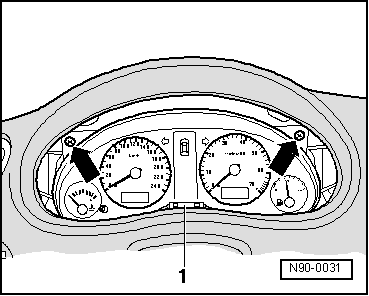
Before beginning dismantling work, perform the following procedures:
–  Switch off ignition and all electrical consumers and remove ignition key.
Removing:
–  Remove steering wheel → Running gear; Rep. Gr.48.
   
–  Remove cross-head screws -arrows-.
–  Then plastic trim can be pulled out forwards.
  N90-0030
–  Remove the two securing screws on left and right -arrows-.
–  Remove clip - 1-.
–  Fold dash panel insert out forwards.
–  Disconnect multi-pin connectors on back of dash panel insert.
–  Take out dash panel insert.
Installing:
Install in reverse order of removal.
  N90-0031

Warning lamp symbols and instruments in dash panel insert > < Renewing dash panel insert