seat Workshop Repair Guides

SEAT Workshop Service and Repair Manuals

The radio frequency remote control unit > < Tightening torques: Lights, lamps and interior switches
Converter with 12 V-230 V electric socketU13: Removing and installing
Converter with 12 V-230 V electric socket -U13-: Removing and installing
Special tools and workshop equipment required
   
t  Lever -U30800-
  W00-2169
t  
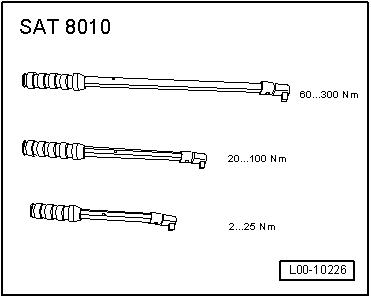
Torque wrench kit -SAT 8010-
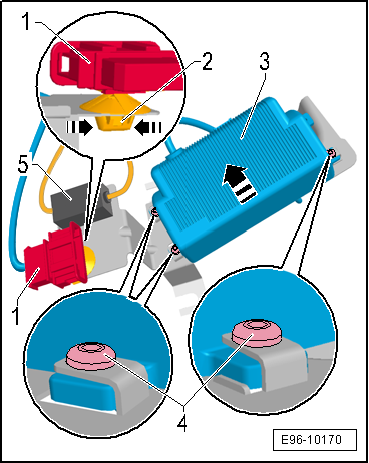
  WARNING
In the housing of the converter with 12 V-230 V electric socket -U13- there are condensers that can be charged with a residual voltage.
t  There is a risk of current surge.
t  The housing of the transformer with 12 V-230 V electric socket -U13- must never be opened.
  Note
t  
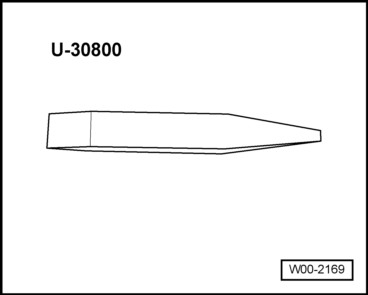
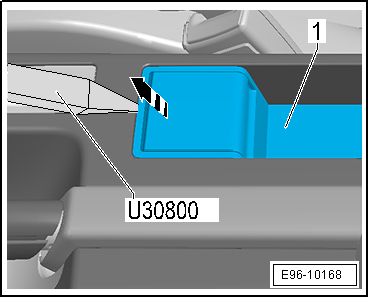
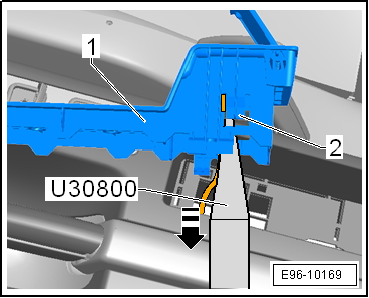
For removing and fitting of components located in a visible zones (switches, covers, linings, etc.) always protect the zones where a lever (lever -U30800- , screwdriver) must be used using normal adhesive tape.
t  Repairs must never be made on the plug connection nor on the wires or the 230 V electric socket.
t  If damage should occur to the plug connection, the wires, the 230 V electric socket or the transformer, the complete unit must be replaced.
Removal:
  L00-10226
–  Switch off ignition and all electrical consumers and take out ignition key.
  E96-10168
–  Remove the storage compartment -1- of the centre console using the lever -U30800- in the direction of the -arrow-.
–  Detach the retaining clips -2- with the lever -U30800-.
–  Remove the 230 V electric socket inside -U11- in the direction of the -arrow- from the mount in the storage compartment of the centre console -1-.
  E96-10169
–  Remove the central console → Bodywork, interior fitting work; Rep. gr.68
–  Unplug the electrical connector -1-.
–  Remove the catch -2 - by pressing the retaining clips together -arrows-.
–  Lift the filter -5- of the holder of the converter with 12 V-230 V electric socket -U13-.
–  Remove the screws -4- that fix the converter with 12 V-230 V electric socket -U13--3- to the holder.
–  Press the converter with 12 V-230 V electric socket -U13--3- in the direction of the -arrow- and remove.
Installation
Installation is carried out in reverse order, noting the following:
  Note
t  Take note when installing and the tightening torque of theconverter with 12 V-230 V electric socket -U13- on the holders, see the details for the screws -4- .
t  Tightening torque → Chapter
  E96-10170
t  Fixed the filter -5- to the holder using double sided adhesive tape → ETKA.
t  From 09.10, the filter -5- is located within the converter with 12 V-230 V electric socket -U13-.
  E96-10170

The radio frequency remote control unit > < Tightening torques: Lights, lamps and interior switches