SEAT Workshop Service and Repair Manuals
HOME
FEATURES
MENU
INDEX
ABOUT US
Ignition/starter switch and lock cylinder >
< Tailgate lamp holder: removal and assembly
Leon Mk1
Vehicle electrics
Electrical system
Lights, lamps, switches outside
Headlights with halogen lamps
Headlamps: Correct the installation position
Headlamps: Correct the installation position
Special tools and workshop equipment required
t
Torque wrench -V.A.G 1331-
Note
t
The front bumper trim does not need to be removed for correcting the installation position of the headlamp.
t
The illustration shows the headlamp on the right side.
When checking the headlight position, if the clearance is irregular with respect to the bodywork, correct the assembly position.
–
Disconnect ignition and all electrical loads, and remove ignition key.
–
Release the radiator grille
→ Bodywork, exterior fitting work; Rep. gr.66
.
–
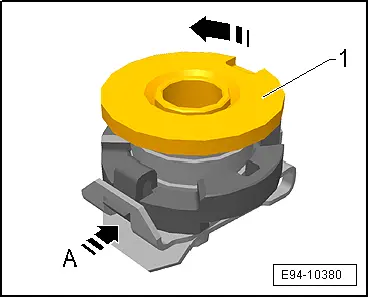
Fixing to the bodywork
-A-
, Adjustment support
-1-
.
–
Counterclockwise
-arrow-
Lifts the adjsutment support.
–
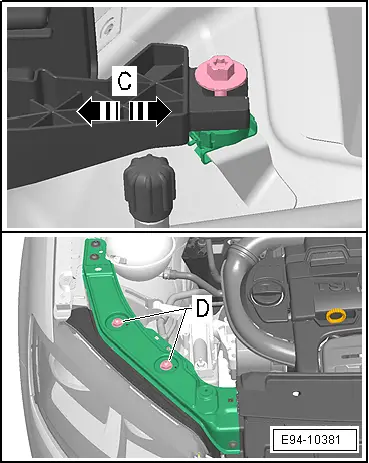
Loosen the fixing screw
-C-
on the rear and front sides of the headlamp (see figure).
–
Loosen the screws
-D-
on the top side of the headlamp.
–
Adjust the gap to the bodywork by screwing the adjustment screw in or out
-arrow-
on the front side
-B-
or the rear side of the headlamp
-A-
.
–
Tighten the fixing screws to the spcified tightening torque
→ Chapter
.
–
Check headlight installation position for evenness of gaps and adjust if necessary.
–
Check headlight functions.
Note
If a headlamp is removed or adapted to the bodywork, it must always be adjusted after the installtion of the adaption.
–
Check the adjustment of the headlamp and adjust the headlamp when necessary „maintenance to be considered precisely“;
→ Booklet
.
Vehicle electrics
Electrical system
Lights, lamps, switches outside
Headlights with halogen lamps
Ignition/starter switch and lock cylinder >
< Tailgate lamp holder: removal and assembly
 Note
Note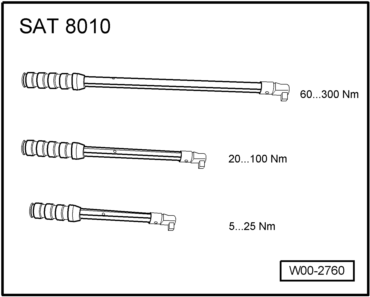
 Note
Note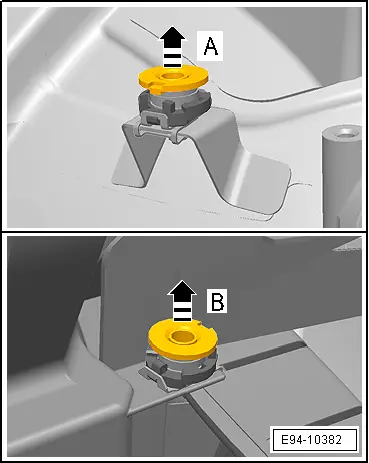
 Note
Note
Note
Note