
Leon Mk1
|
 Caution
 Note
Note
|
|
|
|
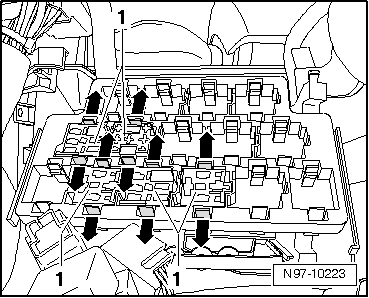
| – | Turn the knobs -5- in the direction of -arrow B- and remove the connectors -4- from the BSG control console -6-. |

| – | Free the BSG control console -6- from the fasteners -arrows- and remove from the housing in the direction of -arrow A-. |
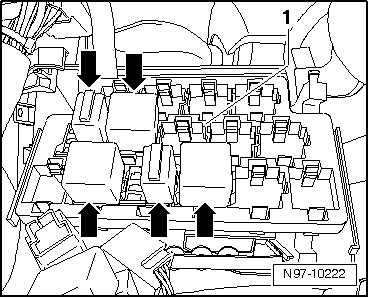
| – | Break the clamps -1- that fasten the cable harness to the relay carrier -3-. |
| – | Remove the screws -2- and remove the relay carrier below -3-. |
|