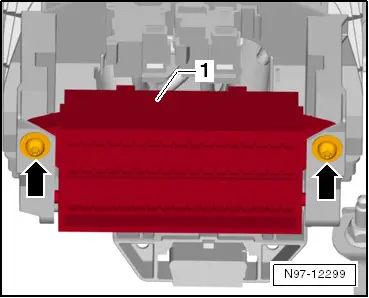
Undo screws -arrows- and pull fuse carrier -1- out of relay carrier, taking connected wiring lengths into consideration.
–
Make a note of the fuse assignment and remove all fuses from the fuse carrier.
–
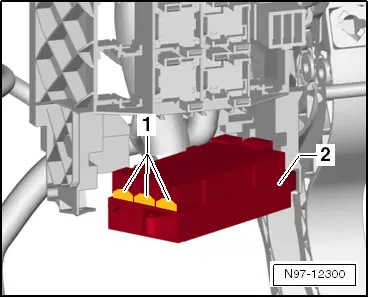
Pull primary locking elements -1-, release all plug-in contacts with the correct release tool from the release tool set -VAS 1978/35- and then pull downwards out of the fuse carrier.
 Note
Note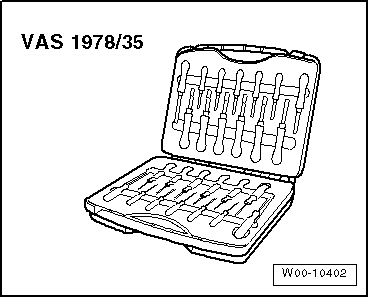
 Caution