seat Workshop Repair Guides

SEAT Workshop Service and Repair Manuals

Gearbox mechanics,operation, construction,diff. > < Clutch: Assembly overview
Clutch: Removing and installing
Consult the equivalence table for tools and equipment according to applicability among Seat / VW / Audi / Skoda → Chapter.
   
Special tools and workshop equipment required
t  Torque wrench kit -SAT 8010-, see equivalent → Anchor
t  Retention tool -T20176-, see equivalent → Anchor
t  Adapter -U-10050-10-, see equivalent → Anchor
t  Lubricating grease → Spare parts catalogue.

Detaching
–  Remove gearbox → Chapter.
   
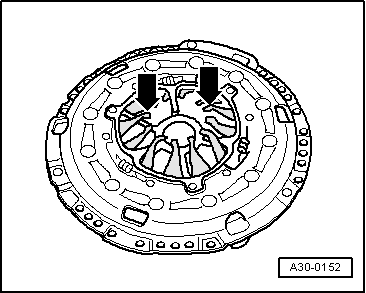
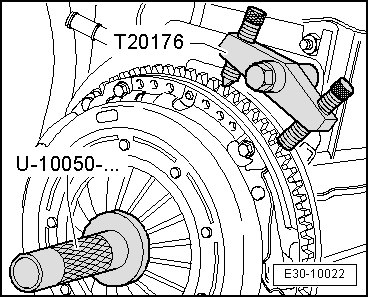
–  Apply counterhold -T20176- to slacken bolts of pressure plate.
  Note
t  
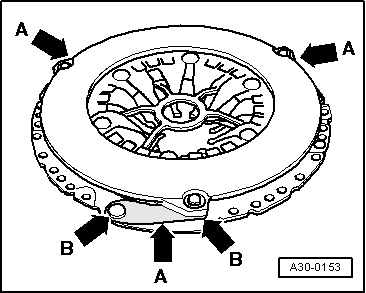
When removing pressure disk, use centring guide -U 10050/A- and adapter -U-10050/T- so that clutch plate does not fall.
t  When removing pressure disk from engine assembly, take care that clutch plate does not fall. This can cause damage.
–  Slightly slacken bolts diagonally at each stage.
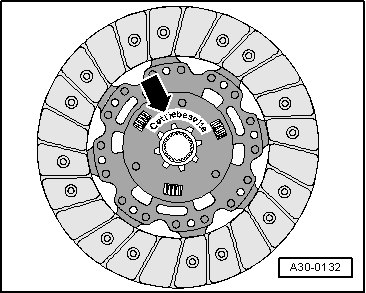
–  Remove pressure disk and clutch plate.
Installing
Install in reverse order, observing following:
  Note
t  If required, pressure plate and clutch plate must always be renewed together. Select clutch plate and pressure plate according to engine code and → Electronic parts catalogue „ETKA“.
t  
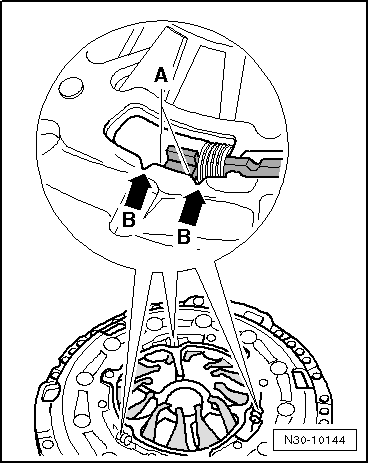
Check whether dowel sleeves for centring the engine/gearbox assembly are fitted in the cylinder block; install if necessary.
t  If the dowel sleeves are not fitted, this will lead to gear-change problems, clutch malfunction and in some cases gearbox noise (gears will make rattling noises).
  E30-10022
Installation position of clutch plate
l  The lettering „Getriebeseite“ should face towards the gearbox.
  A30-0132
Check ends of diaphragm spring
l  Wear up to half the thickness of the diaphragm spring -arrows- is permissible.
  A30-0152
Checking spring connections and riveted connections
–  Check spring connections -arrows A- for damage and riveted connections -arrows B- for secure seating.
  A30-0153
Checking position of adjustment mechanism (new pressure plates only)
l  The two edges -A- of the adjuster ring should be located between the two notches -arrows B-.
l  If the adjuster ring is in a different position on a new pressure plate, the pressure plate and clutch plate must not be installed.
l  The adjuster ring may be located outside the notches when the clutch is used.
  N30-10144
–  When installing clutch assembly, place counterhold -T20176-.
–  To centre the clutch plate, use the centring guide -U 10050/A- with the adaptor -U-10050/T-.
Install pressure plate as follows so it is not deformed during installation (leads to jolts when moving off):
–  Screw in all bolts evenly by hand until bolt heads make contact with pressure plate.
–  Tighten bolts in small steps diagonally in order not to damage centring holes of pressure plate and centring pins of dual-mass flywheel.
Tightening torque → Item
–  Install gearbox → Chapter.
  E30-10022

Gearbox mechanics,operation, construction,diff. > < Clutch: Assembly overview