
Leon Mk2
| Front door - adjusting |

| Special tools and workshop equipment required |
| t | Torque wrench kit -SAT 8010- |
| t | Jointed spanner -T20042- |
| t | Measuring tool -U 40807- |
 Note
Note
|
| – | Remove the front wheel housing → Chapter. |
| – | To correctly adjust the tolerances of the front door, loosen the bolts -2-, -8-, -11- and -12- on strut A with the wrench -T20042-. |

| – | To be able to reach the screw -12-, the cross member of the dash panel must be removed → Removing and installing the cross member; Rep. gr.70. |
| – | To be able to reach the screw -11-, the bottom trim of the A-pillar must be removed → Removing and installing the bottom trim of the A-pillar; Rep. gr.70. |
| – | To make the front door level against the front wing, loosen bolts -5-, -9- and -10-. |
| Adjust the slip plate . |
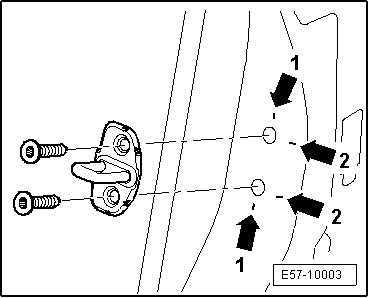
Note| Ensure that the lock catch is adjusted so that the front door closes flush with the rear door. |
|

|
|
|