seat Workshop Repair Guides

SEAT Workshop Service and Repair Manuals

Removing and installing lower transverse link > < Removal:
Installation
Installation
Installation is carried out in the reverse sequence; note the following:
The transversal swinging arm should only be bolted once the measured dimension has been reached, prior to assembly, between the centre of the wheel hub and the lower rim of the wheel housing → Chapter.
   
–  Observe mark made for position of eccentric bolt -arrow- relative to subframe.
  Note
  A42-0419
Washer -2- must be installed so that there is a gap -arrow B- between washer and splash plate -3-.
  A42-0418
Specified torques
ComponentTightening torque
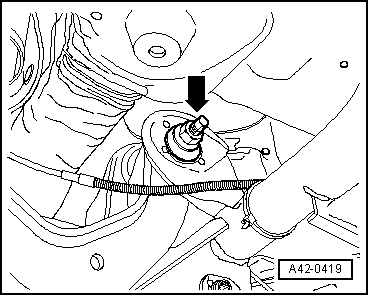
Upper transversal swinging arm to steering knuckle
t  Use new nuts and bolts
t  Tighten threaded connections only when vehicle is in the normal running position
130 Nm + 90°
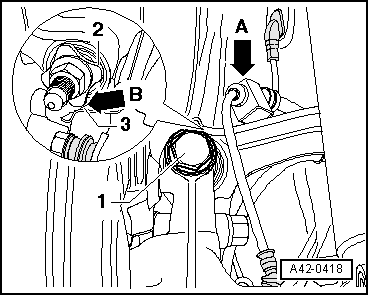
Upper transversal swinging arm to strut
t  Use new nuts
t  Tighten threaded connections only when vehicle is in the normal running position
80 Nm
t  Applies only in conjunction with insert tool, 18 mm -T10179-

–  Check wheel alignment → Chapter
   

Removing and installing lower transverse link > < Removal: