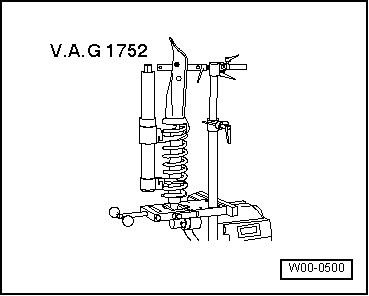
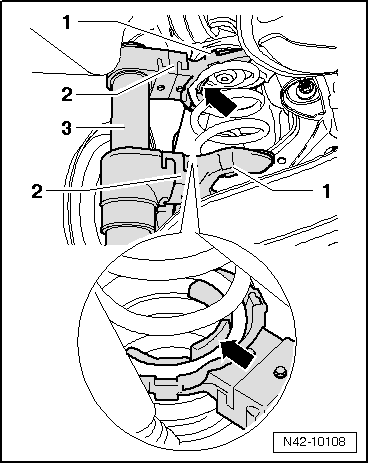
| –
| Insert spring compressor-3-. |
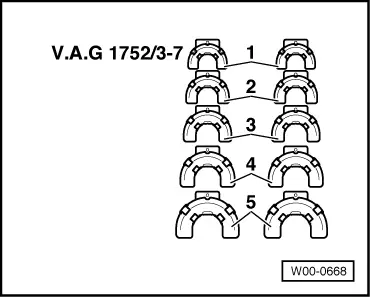
| 1 - | Spring retainer -V.A.G 1752/3A- |
| 2 - | Adapters -V.A.G 1752/9- |
| 3 - | Spring compressor -V.A.G 1752/1- |

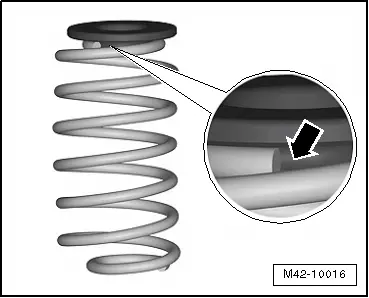
WARNING | Ensure that coil spring is correctly seated in spring retainers -V.A.G 1752/3A--2-. |
|
| –
| Compress coil springs until they can be removed. |

Note | Use a spanner or a reversible ratchet handle to compress spring compressor. |
| Installation is carried out in reverse order. In the process, note the following: |
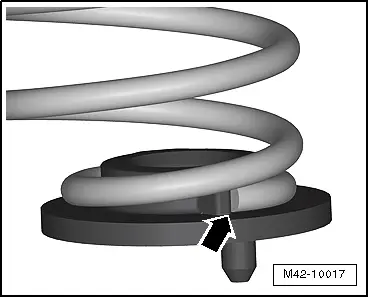
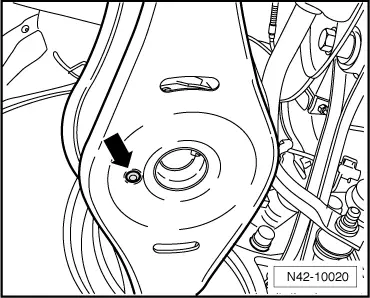
| –
| Check that the lower spring plate is not damaged. |
| –
| If necessary, replace the lower spring plate. |
|
|
|