seat Workshop Repair Guides

SEAT Workshop Service and Repair Manuals

Removing and installing lower transverse link|Installation > < Removing and installing lower transverse link
Removal:
Removal:
  Note
t  
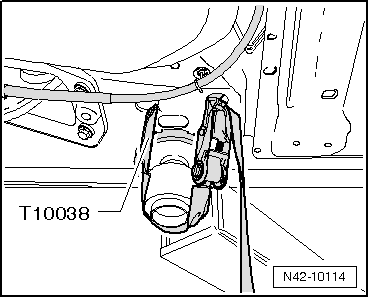
For those vehicles fitted with xenon dual-function headlights, before beginning the disassembly of the rear left hand side suspension, the connection on the vehicle level sender must be unplugged, → Electrical system; Rep. gr. 94 .
t  Perform the basic setting of the lights → Electrical system; Rep. gr. 94 → Vehicle diagnostic tester.
t  
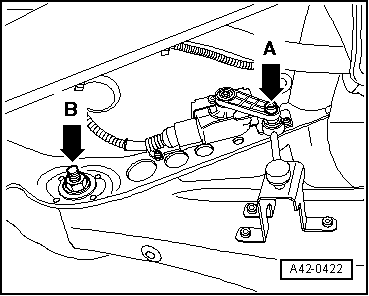
Before starting the removal of the lower control arm, check the height, dimension -a- → Chapter.
t  
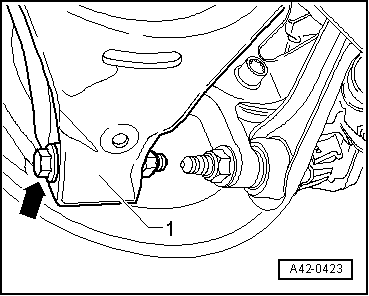
Before starting the removal of the mainspring, check the height, dimension -a- → Chapter.
  WARNING
The vehicle must be secured to the lifting platform, else the it could slip.
   
–  Secure the vehicle with support tool -T10038 - on both sides of the lifting platform.
–  Remove wheel.
–  Disengage and lower rear part of exhaust system.
Vehicles with dynamic headlight range control
  N42-10114
–  Remove the link rod -arrow A- of the vehicle level sender, rear left -G76 -.
–  Mark, using a felt tip pen, for example, the assembly position of the off-centre bolt -arrow B- on the strut.
Continued for all vehicles
–  Remove the coil spring. → Chapter.
  A42-0422
–  Loosen the bolt -arrow- of the lower transversal swinging arm -1-.
  A42-0423
–  Unscrew bolt -arrow B-.
–  Remove the lower transversal swinging arm.
  A42-0422

Removing and installing lower transverse link|Installation > < Removing and installing lower transverse link