
Leon Mk2
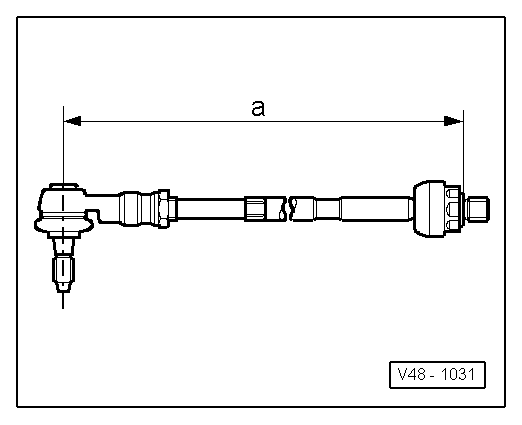
| Removing and installing track rod |
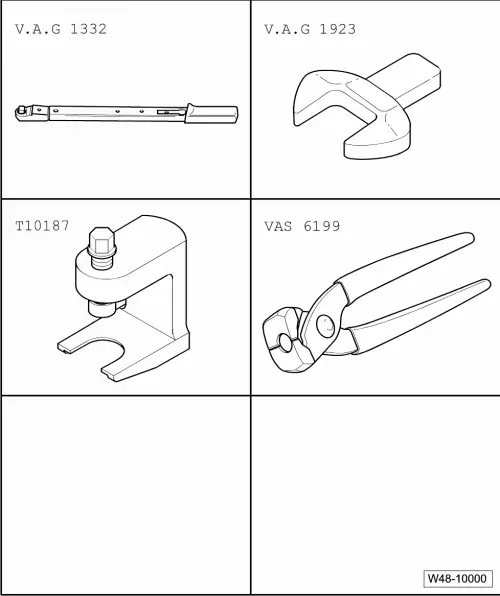
| Special tools and workshop equipment required |
| t | Ball joint puller -3287 A- |
| t | Pliers for clamps -V.A.G 1275- |
| t | Torque wrench -V.A.G 1332- |
| t | Open-end spanner attachment (38 mm) -V.A.G 1923- |
| t | Locking pliers for Phaeton steering box -VAS 6199- |
|
|
|
 Caution
 Note
Note
|
|
|
|
|
|
|

|
|
|
| Specified torques |
| Component | Tightening torque | ||
| Track rod to steering rack | 100 Nm | ||
| Track rod ball joint to track rod | 70 Nm | ||
Track rod ball joint to wheel bearing housing
| Tighten to 100 Nm, then loosen (turn back) 180° and retighten to 100 Nm |