
Leon Mk2
|
|
|
|
|
|
|
|
|
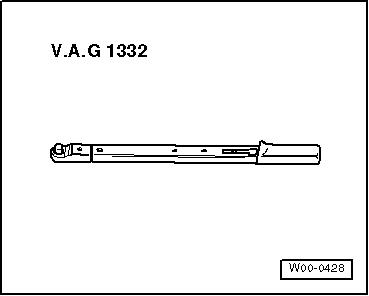
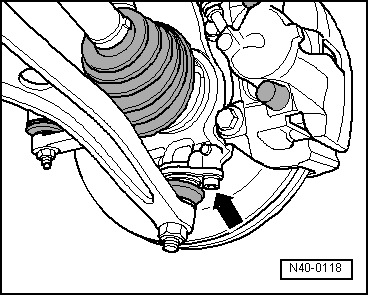
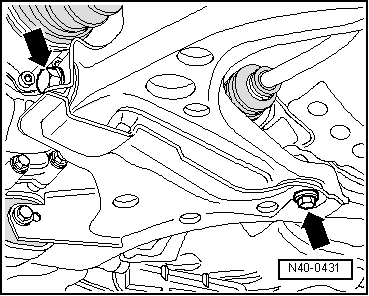
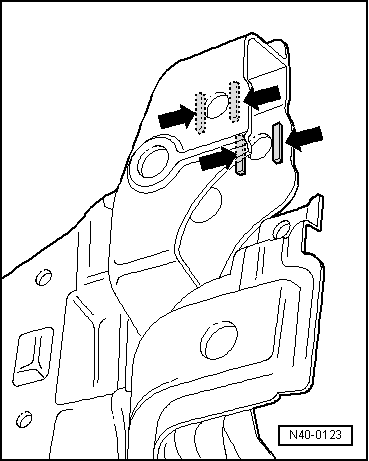
| Specified torques |
| Bolt | Specified torque | ||
| Swivel joint to wheel bearing housing | 55 Nm | ||
Front bolt for suspension link to subframe
| 160 Nm | ||
Front bolt for suspension link to subframe
| 150 Nm + 90° further |