
Leon Mk2
| Removing and installing track rod when steering box is installed |
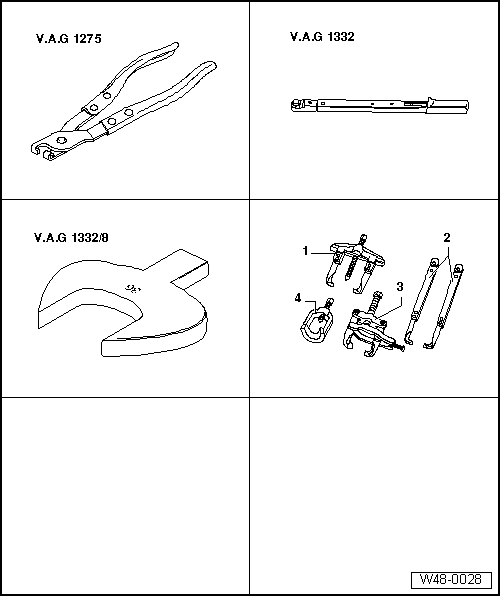
| Special tools and workshop equipment required |
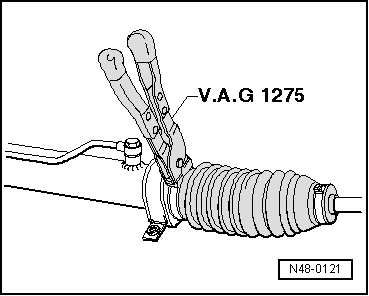
| t | Pliers -V.A.G 1275- |
| t | Torque wrench -V.A.G 1332- |
| t | Open jaw insert, 36 mm -V.A.G 1332/8- |
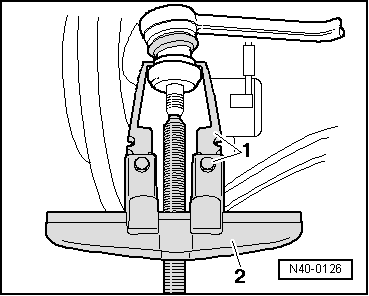
| t | -1-Two arm puller -Kukko 20/10- |
|
|
|
|
|
| Specified torques |
| Bolt | Specified torque | ||
Track rod to steering arm
| 30 Nm + 90° further | ||
Track rod to steering box
| 55 Nm |
 Note
Note
|
|
|