skoda Workshop Repair Guides

Skoda Workshop Service and Repair Manuals

Removing and installing fuel cooler > < Check fuel flow rate
Removing and installing the fuel tank
Special tools and workshop equipment required
t  Engine/gearbox jack, e.g. -V.A.G 1383 A-
t  Fuel extraction device
Removing
  Note
t  Observe safety measures → Chapter.
t  Observe rules for cleanliness → Chapter.
–  Drain the fuel tank → Chapter.
–  Removing rear axle → Chassis; Rep. gr. 42.
–  Remove middle and rear silencer → Chapter.
–  Remove left heat shield next to the fuel tank.
–  Remove rear right wheelhouse liner.
   
–  Unscrew bolts on filler neck -arrows-.
  S20-0093
–  Disconnect feed line (black) -1- and return-flow line (blue) -2- from the fuel tank (press release buttons).
–  Support the fuel tank using the engine/gearbox jack -V.A.G 1383 A-.
  S20-0094
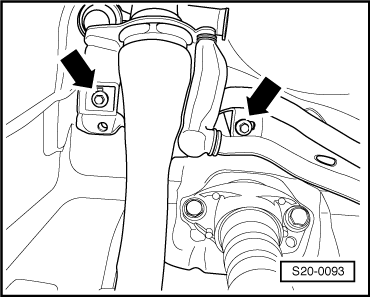
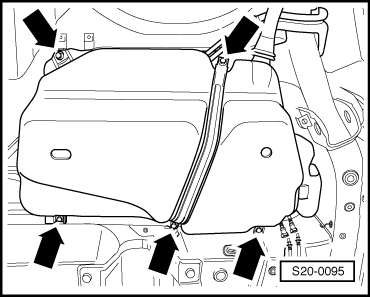
–  Unscrew tensioning strap and fixing screws of the fuel tank -arrows-.
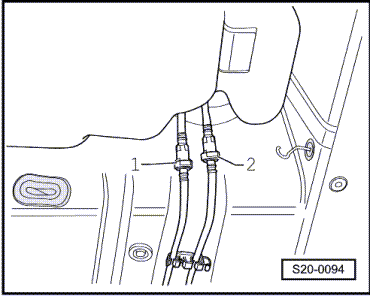
–  Slightly lower the lever, pull the filler neck out of the rubber bowl and lower the fuel tank.
Install
Installation is carried out in the reverse order. Pay attention to the following:
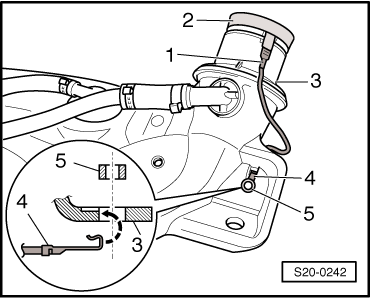
–  Check both earth connections for corrosion, if necessary remove corrosion.
  S20-0095
–  Check fitting position of the earth lead -1-.
l  The plug -1- must tightly fit on the plate ring -2-.
l  The contact tab -4- must be hung in the fuel tank -3- and secured with the spacer bush -5-.
  S20-0242
–  Connect the fuel lines to the flange of the fuel delivery unit:
t  (Black) feed line -2- to connection marked -V-.
t  (Blue) return-flow line -1- to connection marked -R-.
t  Lay the fuel lines avoiding any kinks.
t  Make sure the line connections fit tightly.
t  Check feed, return and ventilation line at fuel tank for firm seating.
  A20-0096

Removing and installing fuel cooler > < Check fuel flow rate