skoda Workshop Repair Guides

Skoda Workshop Service and Repair Manuals

Central control unit for convenience systemJ393 > < General description
Removing and installing the vehicle voltage control unitJ519
Removing and installing the vehicle voltage control unit -J519-
  Note
t  When replacing the vehicle voltage control unit -J519-, if necessary the data bus diagnostic interface -J533-, the → Vehicle diagnostic tester must be connected before removing the control unit and the function „Replace control unit“ must be selected in the operating mode „Targeted fault finding“. Then code the new control unit after the installation see → Vehicle diagnostic tester
t  The control unit can also be coded via an On-line connection. In this case, the → Vehicle diagnostic tester must be connected before removing the control unit from the vehicle.
t  All plug connections can only be connected in one position, they must not be mixed up.
Removing
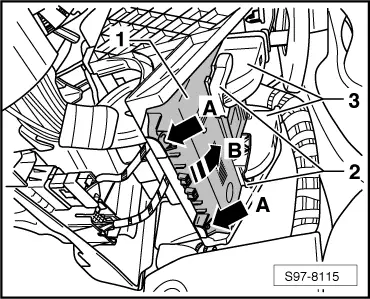
The control unit is located behind the left dash panel on the driver side.
–  Disconnect battery earth strap → Chapter.
–  Remove the damper below the dash panel on the driver side → Body Work; Rep. gr.70.
Vehicles up to MY 2010
   
–  Release lower series of connector -3- and disconnect.
–  Slacken control unit -2- from bracket -1- by releasing -arrows-, push out -movement in direction of arrow- and lower.
–  Unplug the remaining plugs and disconnect.
Vehicles as MY 2011
  S97-5279
–  Unlock and disconnect the plug connections -3- by tilting out the clamps -2-.
–  Loosen the control unit -1- from the bracket by releasing -arrows A-.
–  Swivel out the control unit -arrow B- and remove.
Install
Installation is performed in the reverse order, pay attention to the following points:
–  Insert the control unit and correctly lock into the holder.
–  Pay attention to the work sequence when re-connecting the battery → Chapter.
  S97-8115

Central control unit for convenience systemJ393 > < General description