
Octavia Mk1
|
|
|
|
|
|
|
|
|
|
|
|
|
 Note
Note
|
|
Note |
|
|
|
|
|
|
|
|
|
|
|
|
|
Note
|
|
|
|
|
|
Note
|
|
|
|
 Caution
| Tightening torque: |
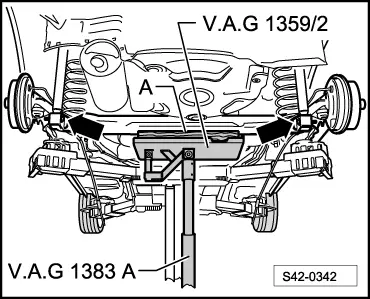
Rear axle to bearing bracket for axle
| 45 Nm + 90° | ||||
Bracket of rear axle to structure
| 30 Nm + 90° | ||||
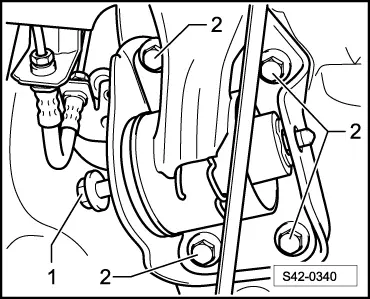
| Brake line holder to vehicle body | 16 Nm | ||||
| Screw for brake-power regulator | 16 Nm |