
Octavia Mk1
| Removing and installing fuel tank with attached parts and fuel filter |

| 1 - | Overflow hose |
| 2 - | “O” ring |
| q | replace |
| 3 - | Gravity valve |
| q | to remove, unclip valve and lift up and out of the filler neck |
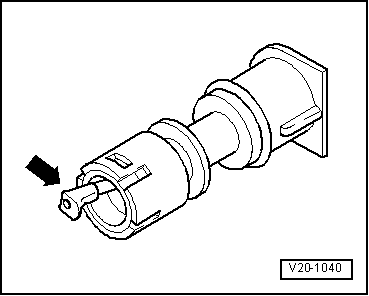
| q | inspect valve for blockage, valve in a vertical position: open, valve tilted 45°: closed |
| 4 - | Vent line |
| q | to the activated charcoal filter system → Anchor |
| 5 - | Fuel filler cap |
| q | Replace seal if damaged |
| 6 - | Tensioning ring |
| 7 - | Rubber bowl |
| 8 - | Vent valve |
| q | check → Fig. |
| 9 - | Earth connection |
| 10 - | 10 Nm |
| 11 - | Vent line |
| 12 - | Fuel tank |
| q | removing and installing → Chapter |
| 13 - | Circlip |
| q | removing: turn left |
| q | Installing: tighten to 2 Nm |
| 14 - | Heat shield |
| q | for fuel tank |
| 15 - | 20 Nm + torque a further 1/4 turn (90°) |
| 16 - | Clamping screw |
| q | Installing: tighten to 2 Nm |
| 17 - | Cover |
| q | for fuel tank |
| 18 - | Tensioning strap |
| q | pay attention to different lengths |
| 19 - | Feed line |
| q | black |
| q | to fuel rail |
| q | to remove, press release button at connecting piece |
| 20 - | Fuel filter |
| q | Fitting position: arrow points in direction of flow |
| 21 - | Retaining clip |
| q | for fuel filter |
| 22 - | Gasket ring |
| q | moisten with fuel before installing |
| q | replace if damaged |
| 23 - | Fuel delivery unit |
| q | removing and installing → Chapter |
| q | Check the fuel delivery unit → Chapter. |
| q | removing and installing fuel gauge sensor → Chapter |
| q | Test holding pressure: → 1.6 ltr./74 kW Motor, Simos 2 Injection and ignition system; Rep. Gr. 24; test fuel pressure regulator |
| 24 - | Union nut |
| q | use wrench -MP 1-227- for removing and installing |
| 25 - | Feed line |
| q | black |
| q | to fuel filter |
| q | to the connection with marking “V” at closing flange |
| q | to remove from connecting flange press release button on the connecting part |
| 26 - | Return-flow line |
| q | blue |
| q | from fuel rail |
| q | to the connection with marking “R” at closing flange |
| q | to remove from connecting flange press release button on the connecting part |
|
|