
Octavia Mk1
|

| 1 - | Top part evaporator housing |
| t | Disassembling and assembling the evaporator housing → Fig. |
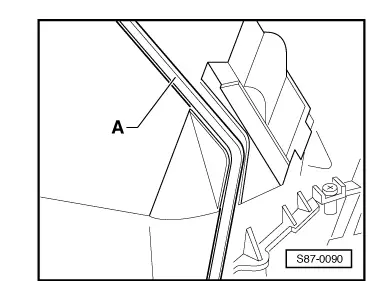
| 2 - | Tensioning strap for cover |
| t | pay attention to the correct routing → Fig. |
| 3 - | Seal |
| t | replace |
| t | Installing the seal on the evaporator housing → Fig. |
| 4 - | Seal |
| t | Install seal on the refrigerant lines of the evaporator → Fig. |
| 5 - | Evaporator |
| t | Install seal on the refrigerant lines of the evaporator |
| t | Installing the seal on the evaporator → Fig. |
| 6 - | Evaporator housing - bottom part |
| t | Disassembling and assembling the evaporator housing → Fig. |
| 7 - | Fresh air blower -V2- |
| t | removing and installing → Fig. |
| 8 - | Cover for fresh air blower -V2- |
| t | screwed |
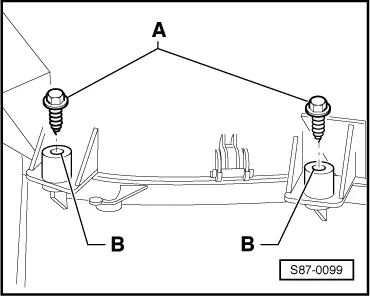
| 9 - | Swing foam cover |
| t | screwed and fixed with tensioning strap -2- |
| t | must be positioned firmly at the evaporator housing |
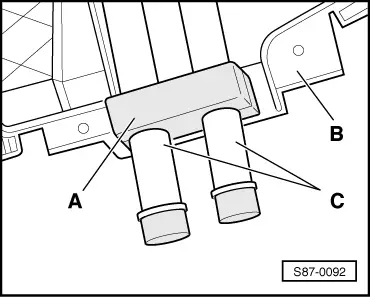
| 10 - | Wiring loom of air conditioning unit |
| t | when installing, make sure that there is clearance between the moving parts → Fig. |
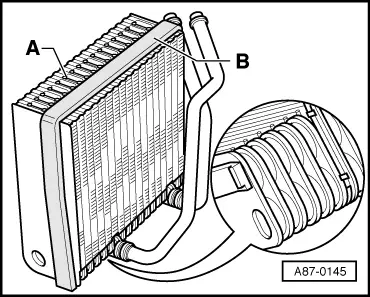
| 11 - | Heat exchanger |
| t | after replacing, the coolant must be completely replaced |
| t | removing and installing → Chapter |
| 12 - | Evaporator vent temperature sender -G263- |
| t | Vehicles as of 03.01 |
| t | remove and install, test → Chapter |
 Note
Note
|
|
|
|
Note
|
|
|
|
Note
|
|