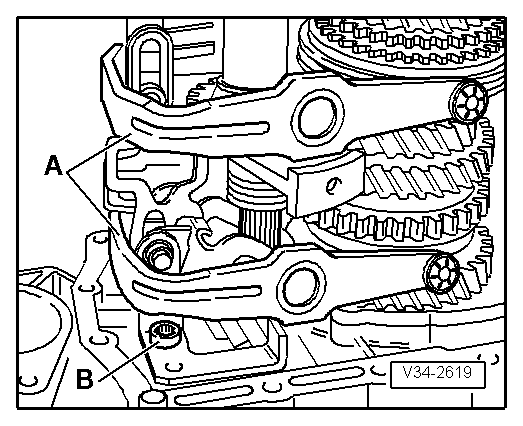
skoda Workshop Repair Guides

Skoda Workshop Service and Repair Manuals

Assembling gearbox > < Mounting sequence
Disassembling gearbox
–  Place catch pan underneath.
   
–  Drain gear oil, to this end unscrew oil drain plug -arrow-.
  S34-0156
–  Secure the gearbox to the gearbox mount -T30109 (VW 353)- with the screws -arrows-.
  Note
  S34-1201
The gearbox can also be attached to the gearbox mount -MP3-501 -.
–  Remove clutch release lever and release bearing → Chapter.
–  Unscrew guide bushing → Chapter.
  S34-0132
–  Unscrew the gearbox housing cover -arrow-.
  S34-1202
–  Release both screws -arrows- for the bearing pins.
–  Pull the bearing pins out of the shift fork for the 5th gear.
–  Remove the top spring for the arresters from the 5th gear sliding sleeve/synchronizer body.
–  Pull off the 5th gear shift fork with the 5th gear sliding sleeve and at the same time remove the arresters.
–  Then reposition the 5th gear sliding sleeve without shift fork on the synchronizer body.
  V34-2612
–  Unscrew screws -A- for the synchronizer body and 5th gear pinion, while doing so engage the 5th gear -arrow 1- and 1st gear -arrows 2- and -3-.
–  The input and output shafts are blocked after introducing the two gears, the synchronizer body and pinion cannot rotate. Now it is possible to release the two bolts.
–  Remove the 5th gear sliding sleeve.
  V34-2613
–  Pull off synchronizer body with 5th gear sliding gear and remove with needle bearing.
A - Two-arm extractor, e.g. -Kukko 20/10-, with hook -Matra V/170-
B - Hexagon screw M10 x 20 mm
  V34-2312
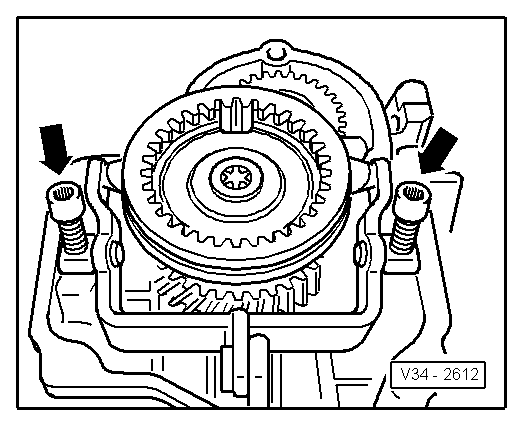
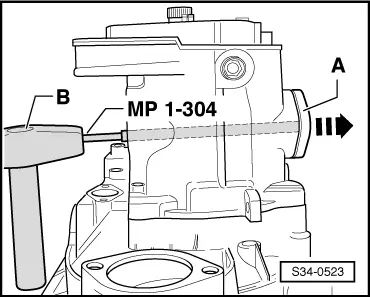
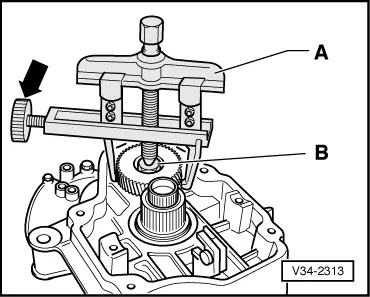
–  Remove 5th gear pinion.
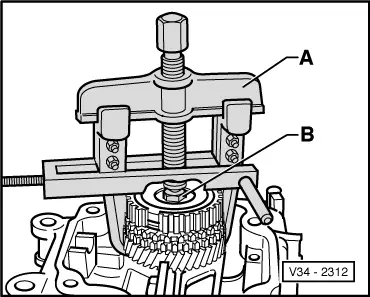
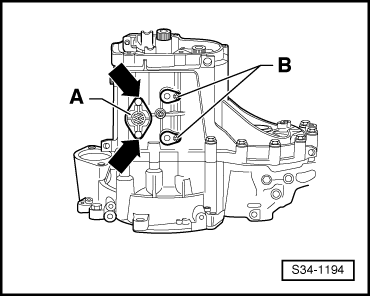
A - Two-arm extractor, e.g. -Kukko 20/10-, with hook -Matra V/170-
B - Hexagon screw M10 x 20 mm
Disassembling sequence:
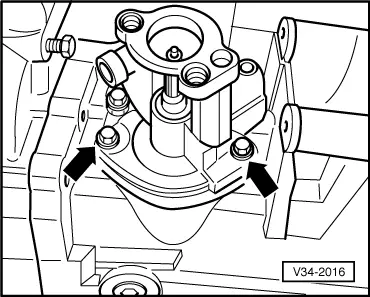
–  Set up two-arm extractor and centre by turning the screw -arrow-.
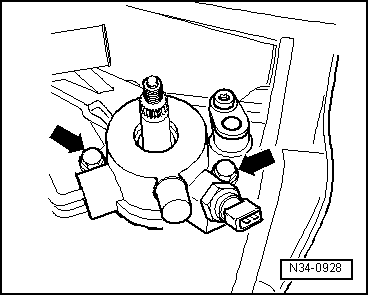
–  Remove pinion with two-arm extractor, if necessary first heat with hot-air blower -V.A.G 1416 -.
  Note
t  When pulling off the gear pinion make sure the hooks do not bend outwards, if necessary tighten screw -arrow-. Check 5th gear for damage after removing.
t  If the shafts are not replaced, carefully clean the threaded holes using a screw-tap to remove locking agent residues.
  V34-2313
–  Remove the left flange shaft. Use drift to secure against turning and unscrew conical screw -arrow-.
  N34-0109
–  Unscrew both screws -arrows- for support/reverse shaft.
  V34-2007
Gearbox up to 04.99
–  Remove gearshift shaft with cover To do so put the gearshift shaft in neutral position, unscrew screws -arrows- and pull the gearshift shaft together with the cover out of the gearbox housing.
  V34-2016
Gearbox as of 05.99
–  Remove gearshift shaft with cover To do so put the gearshift shaft in neutral position, unscrew screws -arrows- and pull the gearshift shaft together with the cover out of the gearbox housing.
Continued for all gearboxes
  N34-0928
–  Remove screws -arrows- for the screw cap -A- and the bearing pins -B- at the gearbox bottom side.
  S34-1194
–  Carefully remove the screw cap -A- with driver -MP1-304 (10-206)- and hammer -B-.
  S34-0523
–  Unscrew screws -A-, that serve to secure the gearbox housing from the clutch housing.
  Note
Do not release nuts -B- for the output shaft bearing support.
  S34-1195
–  Remove bearing pins -A- on the top side of the gearbox and fixing screws -B- for the gearbox housing on the clutch housing near the differential gear.
  S34-1010
–  Remove the gearbox housing, while doing so carefully lever off alternatively from the projecting housing lands -arrows-, make sure the sealing surfaces are not damaged in the process.
  V34-2618
–  Remove shift forks -A- together with shift rails.
–  Unscrew shift mechanism/reverse gear -B-.
  V34-2619
–  Release nuts -B- for the bearing support/output shaft.
  S34-1195
–  Successively remove the reverse gear -A-, drive shaft -B- and output shaft -C- from the clutch housing.
–  Remove right flange shaft and take out differential gear.
  Note
Removing is identical to the left flange shaft → Anchor.
  V34-2620

Assembling gearbox > < Mounting sequence