
Superb
| Air conditioner - Passenger compartment |
 Note
Note| The parts marked with an * can only be repaired in a service centre as the refrigerant must be drained off using a service position. |
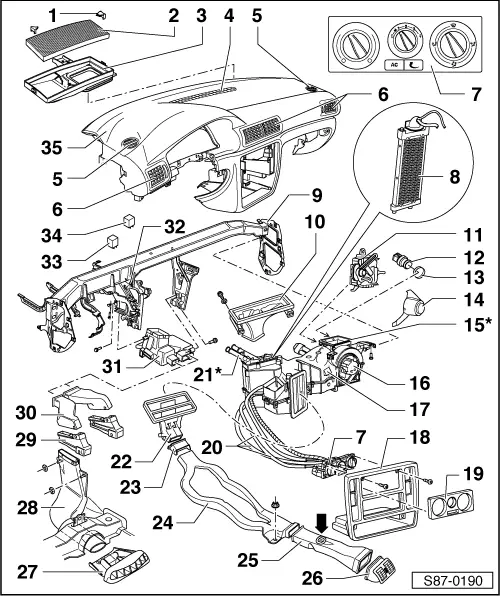
| 1 - | Retaining clip |
| q | press up with screwdriver |
| 2 - | Dust and pollen filter |
| q | removing and installing → Chapter |
| 3 - | Inlet connection |
| 4 - | Defroster vent |
| 5 - | Side window vent |
| q | removing → Chapter |
| 6 - | Flow vent |
| q | Removing vent, passenger or driver side → Chapter |
| q | Removing the centre vent → Chapter |
| 7 - | Control for heating and air conditioning system |
| q | removing and installing → Chapter |
| q | disassembling and assembling → Chapter |
| 8 - | Heating element for air auxiliary heating -Z35- |
| q | not fitted to all vehicles |
| q | removing and installing → Fig. |
| q | check → Current flow diagrams and Fitting locations |
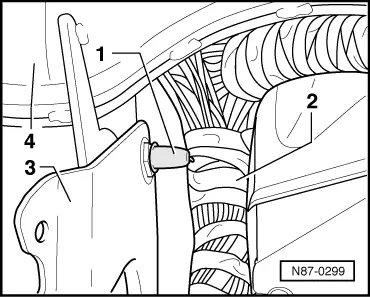
| 9 - | Cross member - dash panel |
| q | When installing pay attention to the fitting instruction for the fixing screw → Fig. |
| 10 - | Intermediate piece for defrost |
| q | replace: |
| – | Remove the dash panel → Body Work → Rep. Gr.70. |
| 11 - | Fresh air flap and re-circulating air flap control motor -V154- |
| q | removing and installing → Chapter |
| 12 - | Outside temperature switch -F38- |
| q | switches off the Magnetic coupling - N25- if the ambient temperature is too low (switch value 5°C) |
| q | replace: |
| – | Remove storage compartment on passenger side → Body Work → Rep. Gr.68. |
| – | Grab the ambient temperature switch by hand from below behind the air conditioner. |
| – | Pull out ambient temperature switch. |
| 13 - | Gasket |
| q | replace if damaged |
| q | replace: |
| – | Removing Ambient temperature switch - F38-. |
| – | Removing dust and pollen filter |
| – | Position fresh/re-circulating air flap in end position “Fresh air”. |
| – | Close the fresh air intake duct with a cleaning cloth. |
| – | Pull out gasket by hand by reaching through the fresh air intake duct. |
| 14 - | Water drain funnel |
| q | removing and installing → Chapter |
| 15 - | Air conditioning unit* |
| q | removing → Chapter |
| q | Disassembling and assembling the evaporator housing → Chapter |
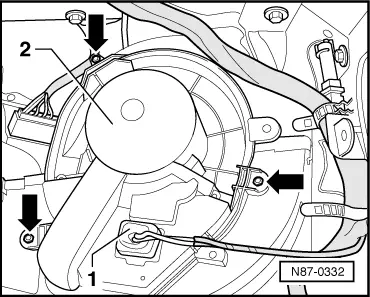
| 16 - | Fresh air blower -V2- |
| q | removing and installing → Fig. |
| 17 - | Series resistor for fresh air blower with overheating fuse -N24- |
| q | replace → Fig. |
| 18 - | Centre trim |
| 19 - | Contol trim |
| q | unclip with screwdriver |
| 20 - | Control cables |
| q | installing → Chapter |
| 21 - | Heat exchanger* |
| q | refill refrigerant after replacing |
| q | Removing and installing heat exchanger: |
| – | Remove air conditioning unit. |
| 22 - | Intermediate piece |
| 23 - | Connecting rubber |
| 24 - | Front air deflector |
| 25 - | Rear air deflector |
| q | with connection fitting for refrigerator box - centre console -arrow- |
| 26 - | Flow vent - centre part |
| q | removing and installing → Body Work → Rep. Gr.68 |
| 27 - | Nozzle for rear duct |
| q | removing and installing → Chapter |
| 28 - | Left rear duct |
| 29 - | Bottom connecting piece |
| 30 - | Top connecting piece |
| 31 - | Footwell vent |
| q | replace: |
| – | Remove the dash panel → Body Work → Rep. Gr.70. |
| – | Removing cross member - dash panel. |
| – | Removing top connecting pieces. |
| – | Carefully raise air conditioning unit. |
| – | Pull out the footwell vent. |
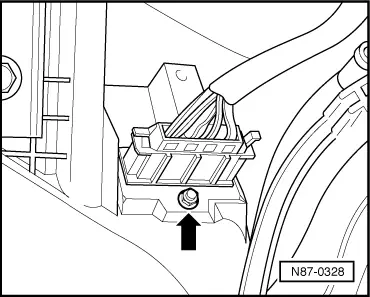
| 32 - | Fixing screw for left cross member - dash panel and side member |
| q | When installing pay attention to the fitting instruction for the fixing screw → Fig. |
| 33 - | Relay |
| q | Radiator fan relay -J26- |
| q | Radiator fan relay V7 and V35 - Stage 1 -J279- |
| q | Radiator fan relay V7 - stage 2 -J280- |
| q | Radiator fan run-on relay - J397- (for vehicles with a turbo-diesel engine) |
| q | Fitting locations → Current flow diagrams and Fitting locations |
| 34 - | Control unit for air conditioning system deactivation -J314- |
| q | Fitting location → Current flow diagrams and Fitting locations |
| 35 - | Dash panel |
| q | removing and installing → Body Work → Rep. Gr.70 |
|
|
|
|
|
|